
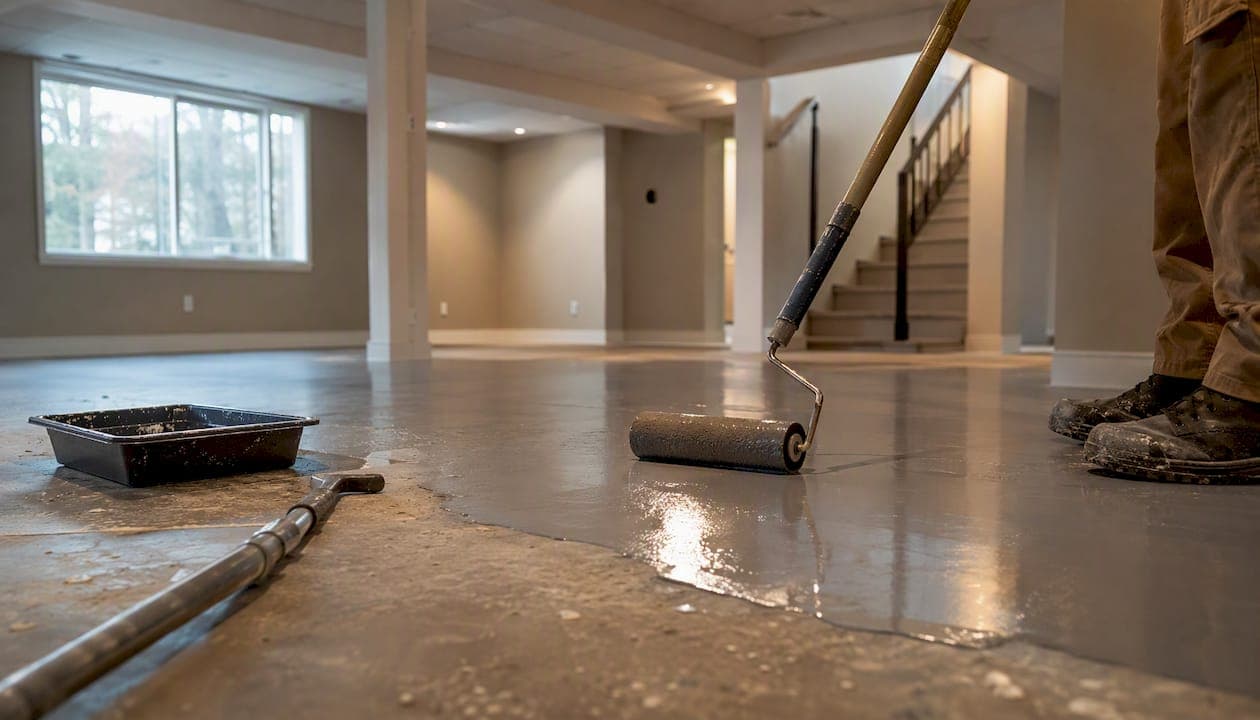
Epoxy works for most basements, with one dealbreaker: active water intrusion. If your slab stays dry and passes a moisture check, epoxy is one of the most durable, low-maintenance floor coatings you can put over concrete. Here's the quick decision path. Use a retail DIY kit if your basement is dry, the slab is in decent shape, and you're comfortable with a weekend project. Step up to a pro-grade kit with proper prep if you want a longer-lasting finish and are willing to rent a grinder. Hire a contractor if you see any sign of moisture, have a large or cracked slab, or want a warranty behind the work.
- Test first: run a plastic sheet moisture test for 24 to 48 hours before buying anything.
- Prep decides everything: diamond-grinding the slab creates a mechanical bond that outperforms acid etching almost every time.
Key Takeaways
Epoxy succeeds on dry, well-prepped basement slabs and fails almost exclusively where moisture or shortcuts in prep are involved.
| Point | Details |
|---|---|
| Moisture test first | Run a plastic sheet or moisture meter test before buying any epoxy product. |
| DIY cost range | Budget $3 to $6 per square foot in materials for a standard retail kit. |
| Prep beats product | Diamond-grinding creates a stronger bond than acid etching, especially on damaged slabs. |
| Cure before load | Wait roughly 24 hours for foot traffic and 72 hours before heavy furniture. |
| Know your failure signs | Peeling signals moisture or poor prep; bubbling often means humidity during cure. |
| When to hire | Show Me Epoxy handles active moisture, large slabs, and warranty-backed basement installs. |
Table of Contents
- What Is Basement Epoxy Flooring and Which Type Fits?
- Epoxy Basement Floor Pros and Cons
- How Much Does Basement Epoxy Flooring Cost?
- Step-By-Step: How Do You DIY an Epoxy Basement Floor?
- Why Do Epoxy Floors Peel, Bubble, or Yellow?
- How Long Do Epoxy Basement Floors Last?
- Which Epoxy Products Should You Consider?
- When Should You Hire a Professional Basement Epoxy Installer?
- Frequently Asked Questions
- Sources
What Is Basement Epoxy Flooring and Which Type Fits?
Epoxy flooring is a two-part system: a resin (Part A) mixed with a hardener (Part B) that chemically bonds to concrete and cures into a hard, glass-like surface. Not all epoxies behave the same way, and picking the wrong one for a basement is a common, avoidable mistake.
- Water-based epoxy: low odor, easy DIY application, but thinner and less durable than solvent or solid systems.
- Solvent-based epoxy: stronger film, better chemical resistance, though higher VOCs mean you need real ventilation.
- 100% solids epoxy: the thickest, most durable option and what most professionals use, but it sets fast and is harder to spread by hand.
- Polyaspartic (hybrid): cures in hours instead of days and resists yellowing better, at a higher material cost.
- Poured resin systems: self-leveling and good at masking minor slab imperfections, often used for decorative or repair-heavy basements.
Epoxy Basement Floor Pros and Cons
Epoxy earns its reputation for basements when conditions are right, and it fails hard when they're not.
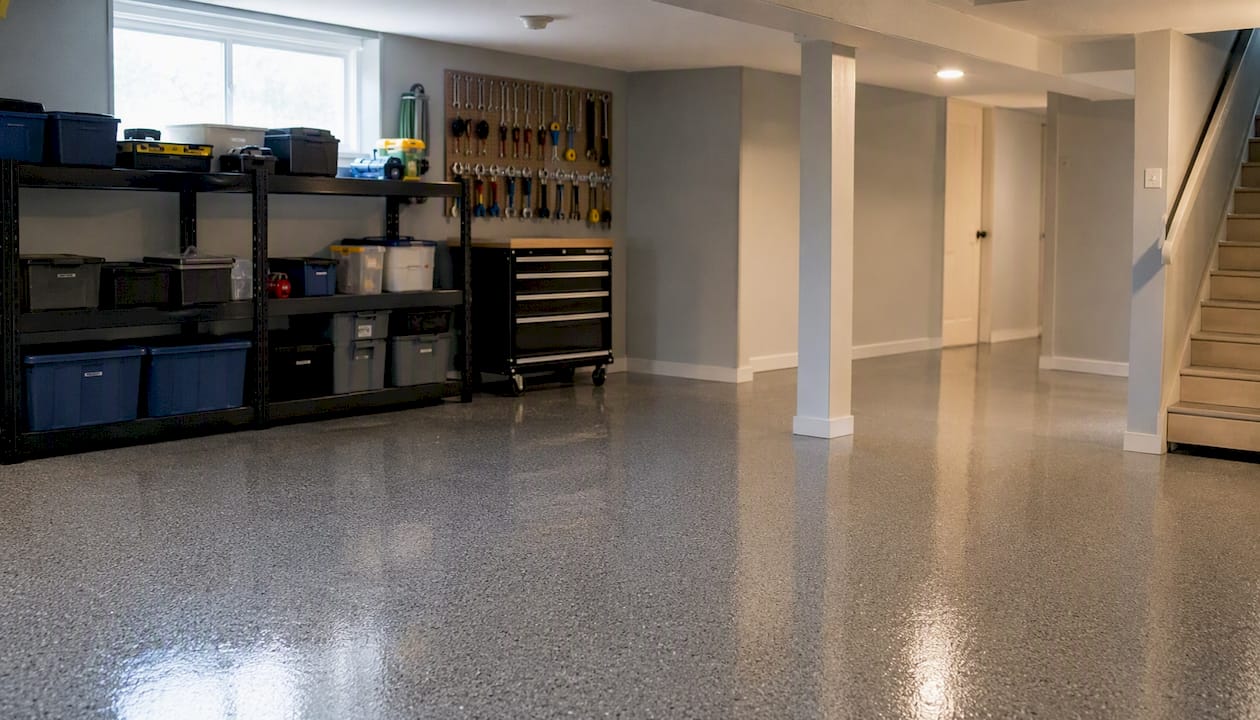
The upside: epoxy resists stains from spilled paint, oil, and salt-tracked snow. It wipes clean with a mop. A properly cured floor can handle furniture, storage totes, and foot traffic for years without scuffing.
The downside: moisture is the enemy. Hydrostatic pressure pushing water up through the slab will lift epoxy regardless of how well you prepped the surface. Cured epoxy can also get slick when wet, and cheaper water-based formulas sometimes yellow under UV exposure near basement windows.
If your basement has active seepage or a history of flooding, epoxy isn't the fix. Vinyl plank, painted concrete, or polished concrete handle moisture-prone basements better without the peeling risk.
Pro Tip: Don't skip the moisture test because your basement "feels dry." Slabs can wick moisture invisibly for months before it shows up as bubbling epoxy.
How Much Does Basement Epoxy Flooring Cost?
DIY materials typically run $3 to $6 per square foot, so a 500 square foot basement usually costs $250 to $600 in epoxy, primer, and topcoat. That range shifts based on whether you add decorative flakes, a non-slip additive, or a premium polyaspartic topcoat.
Professional installation costs more per square foot, but it includes labor most homeowners underestimate: diamond-grinding the slab, patching cracks, moisture mitigation if needed, and a warranty on the finished floor. Total project cost depends heavily on slab condition. A basement with existing damage or moisture issues costs more to prep than a clean, dry slab.
Before you budget, walk through this checklist:
- Slab prep: does the floor need grinding, or will a simple etch suffice?
- Repairs: are there cracks, spalling, or old coatings to remove first?
- Product choice: water-based, 100% solids, or polyaspartic?
- Extras: flakes, non-slip grit, and a UV-stable topcoat all add cost.
- Labor: DIY saves money upfront but adds real time and risk of redo.
Show Me Epoxy's free cost calculator is a fast way to see where your project lands before committing to either path.
Step-By-Step: How Do You DIY an Epoxy Basement Floor?
Getting a basement epoxy job right comes down to sequence. Skip a step here and the whole floor is at risk.
1. Test for moisture. Tape a 2 foot by 2 foot plastic sheet to the slab and check for condensation after 24 to 48 hours, or use a concrete moisture meter. If you see moisture or your basement has a history of dampness, stop and call a professional before buying materials.
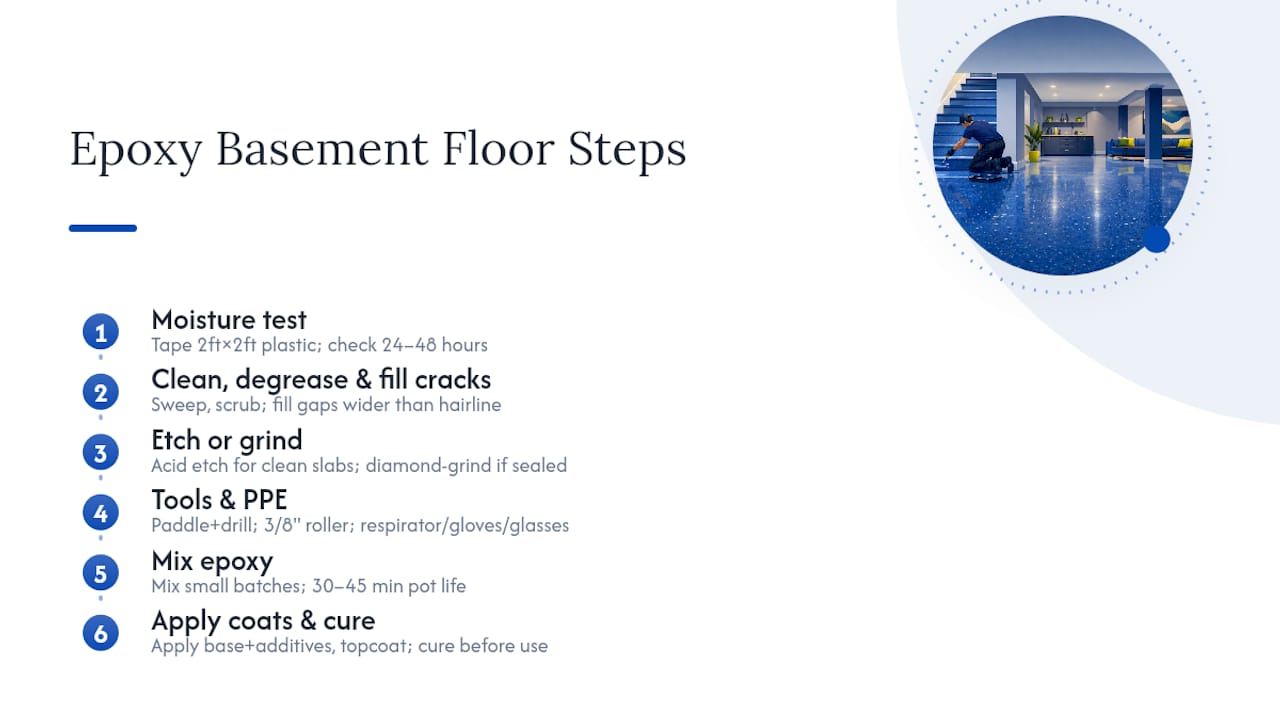
2. Clean and degrease. Sweep, then scrub with a concrete degreaser to remove oil, dust, and old sealant residue.
3. Fill cracks. Use an epoxy crack filler on any gaps wider than a hairline before moving forward.
4. Etch or grind. Acid etching works for lightly used basements with a clean slab. Diamond-grinding, which you can do with a rented grinder, opens the concrete's pores for a mechanical bond and handles slabs with old sealer or minor damage far better.
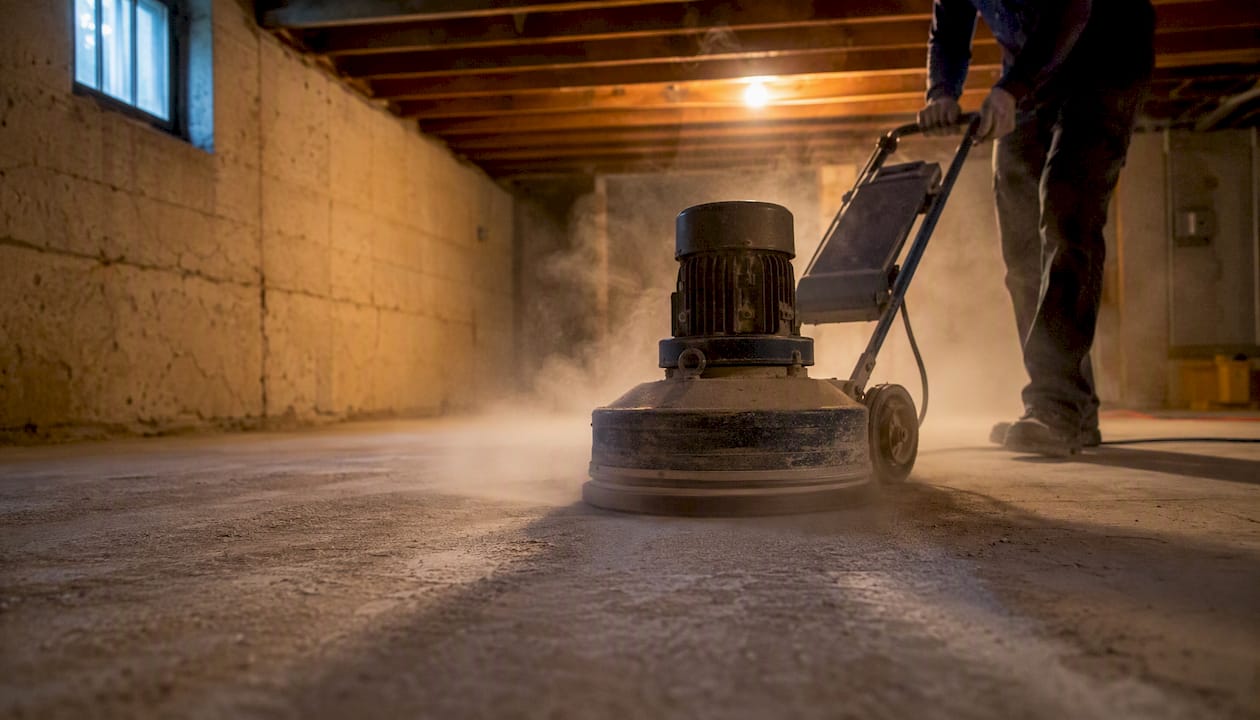
Tools and PPE you'll need: a mixing paddle and drill, a 3/8 inch nap roller, a respirator rated for solvents, chemical-resistant gloves, and safety glasses. If grinding, add hearing protection and a dust mask rated for silica.
5. Mix in small batches. Epoxy has a limited pot life, often 30 to 45 minutes once mixed, so work in sections you can coat before it starts to set.
6. Apply your base coat, add non-slip additive or flakes while it's still wet if desired, then follow with a topcoat once the base has tacked up.
7. Cure before use. Most guides recommend waiting about a day before light foot traffic and several days before returning furniture or heavy loads..
Pro Tip: Coat a small test patch first, roughly 2 feet by 2 feet, and let it fully cure before committing the whole basement. It's the cheapest insurance against a bad batch or wrong product choice.
Why Do Epoxy Floors Peel, Bubble, or Yellow?
Most epoxy failures trace back to one of three causes, and all three are preventable.
- Peeling: almost always moisture trapped beneath the coating or inadequate surface prep before application.
- Bubbling: usually humidity or air escaping the concrete (outgassing) during cure, often from applying epoxy in fluctuating temperatures.
- Yellowing: common with cheaper water-based formulas exposed to UV light near basement windows.
A small bubble or scuff is usually cosmetic and fixable with a patch coat. Widespread peeling or delamination across the floor means the bond failed. At that point, sanding and recoating won't hold. You need to strip the section back to bare concrete and start over.
How Long Do Epoxy Basement Floors Last?
Maintenance is simple: sweep regularly, mop with a mild cleaner instead of harsh degreasers, and avoid dragging sharp furniture legs across the surface.
A DIY kit installed over a properly prepped slab typically holds up for several years before it needs a recoat. Heavy moisture exposure or constant heavy loads shorten either lifespan. Inspect annually for lifting edges or hairline cracks, and plan a partial recoat as soon as you spot wear rather than waiting for a full failure.
Which Epoxy Products Should You Consider?
For a straightforward DIY basement, Rust-Oleum EpoxyShield is a widely available two-part kit that covers up to 500 square feet and outperforms single-part paint. Quikrete offers concrete patch and repair products worth grabbing before you epoxy, since cracks need filling first. If your slab shows past moisture issues, look at specialty wet-basement kits built with moisture-tolerant primers.
For non-slip texture, silica sand and aluminum oxide additives are cheap and sold at most big-box stores or specialty coating suppliers. DIY kits are best bought at home improvement retailers; professional-grade 100% solids and polyaspartic materials are typically sourced through contractors or specialty distributors, not retail shelves.
Why Surface Prep Changes the Outcome
Diamond-grinding opens the concrete's surface for mechanical adhesion, while acid etching only lightly roughens it. That gap explains most early-failure calls contractors get. Before hiring anyone, ask about their grinding process, moisture mitigation plan, warranty length, and references from other basement jobs.
What Installers Wish Homeowners Knew First
The prep step homeowners skip most often is dealing with humidity in the room itself, not just the slab. Run a dehumidifier for a few days before any coating goes down, whether you're doing it yourself or scheduling a crew. Clear the space completely and check that the basement isn't running above normal ambient humidity before work starts.
When Should You Hire a Professional Basement Epoxy Installer?
Some basements are past the point where a retail kit makes sense. Active moisture, a large or heavily cracked slab, or a desire for a warranty-backed finish all point toward hiring a contractor instead of DIY-ing the project.
Show Me Epoxy handles exactly these cases across Mid-Missouri, using diamond-grinding preparation to create a permanent bond rather than relying on a surface-level etch. That difference matters most in basements, where moisture and slab condition are harder to predict than in a garage. Two next steps if your basement fits this profile: request a moisture assessment, or get a free quote through the basement epoxy flooring service page. Both come with honest pricing and no pressure to commit on the spot. If you're in Columbia, the local basement service page has project details specific to that area.
Frequently Asked Questions
Is epoxy a good choice for a basement floor? Yes, as long as the slab is dry and passes a moisture test. Active water intrusion is the main reason epoxy basement installations fail.
How much does it cost to epoxy a basement floor? DIY materials run about $3 to $6 per square foot. Professional installation costs more but includes grinding, moisture mitigation, and a warranty.
Can you epoxy a basement floor yourself? Yes, if the slab is clean, dry, and properly prepped. Follow moisture testing, cleaning, crack repair, and etching or grinding before applying any coating.
What's the difference between epoxy and polyaspartic for a basement? Polyaspartic cures faster, often within hours, and resists yellowing better. Standard epoxy costs less but takes longer to cure and return to use.
How long does epoxy last on a basement floor? A DIY kit typically lasts 5 to 10 years. Professional-grade systems installed over diamond-ground concrete often last well beyond a decade.
Why is my basement epoxy floor peeling or bubbling? Peeling usually means moisture trapped under the coating or inadequate prep. Bubbling often comes from humidity or temperature swings during the cure.
Sources
- DIY Basement Floor Epoxy Coating for Concrete Floors
- How to Epoxy Coat a Basement Floor: A DIY Guide and Pro Tips
- Rust-Oleum EpoxyShield Epoxyshield 240 oz. Gray High-Gloss, Low-Voc 2-Part Epoxy Concrete Basement and Garage Floor Kit 365187 - The Home Depot