
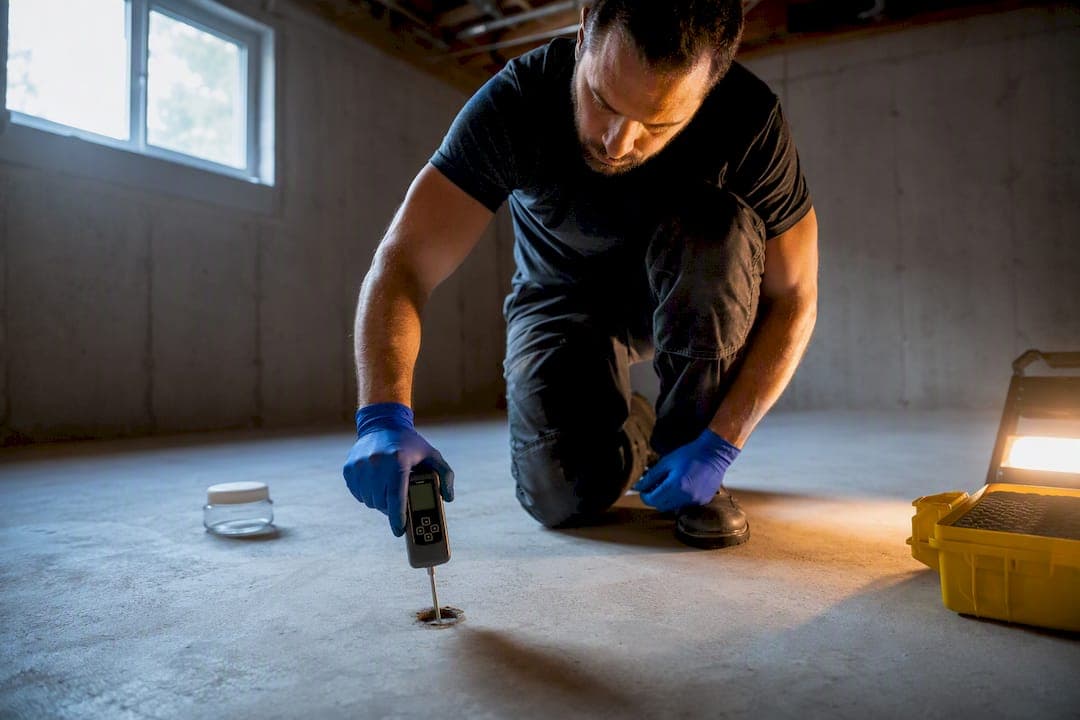
The in-situ relative humidity probe test (ASTM F2170) is the industry standard for slab acceptance because it measures moisture deep inside the concrete, not just at the surface. Calcium chloride testing (ASTM F1869) is a valid secondary method that quantifies surface vapor emission over 24 hours. Non-destructive electronic meters (ASTM F2659) work only as quick screening tools to find trouble spots. Whichever numbers you get, the flooring or coating manufacturer's stated threshold decides pass or fail, not a generic rule of thumb.
TL;DR:
- In-situ relative humidity probes provide the most accurate internal moisture readings but require proper drilling, sampling, and waiting times for reliable results.
- Calcium chloride tests measure surface vapor emission over 24 hours, which can under-report if moisture is trapped in the slab’s interior or affected by surface conditions.
- Handheld impedance meters are useful for quick screening but should never replace detailed tests when warranty or long-term performance depends on the results.
- Proper surface preparation, including conditioning the space and removing sealers, is essential to obtain accurate moisture test readings.
- Moisture test results must be compared directly to the specific manufacturer thresholds, and retesting is necessary if conditions change or initial readings are borderline.
Table of Contents
- Concrete Moisture Test Methods Compared
- How to Run an In-Situ RH Test the Right Way
- Running a Calcium Chloride (MVER) Test Correctly
- Using Moisture Meters as a Screening Tool, Not a Verdict
- Prepping the Slab Before You Test
- Reading the Results and Deciding What Comes Next
- Common Testing Mistakes and How to Fix a Wet Slab
- Why a Prep-First Approach Treats Testing as Step One, Not an Afterthought
- Get a Moisture-Ready Floor Assessment From an Epoxy Flooring Specialist
- Standards Worth Reading Directly
- Sources
Concrete Moisture Test Methods Compared
Three tools dominate the field, and each answers a different question.
- In-situ RH probes measure relative humidity inside the slab at a set depth, giving the closest read on how much water the concrete will eventually push toward a floor covering. It's the slowest to set up but the most trusted for final acceptance.
- Calcium chloride (MVER) tests measure how much moisture vapor escapes the surface over a fixed 24-hour window, reported in pounds per 1,000 square feet. It's a legacy method still accepted by many manufacturers, though it's sensitive to surface conditions.
- Non-destructive impedance meters scan the top inch of concrete in seconds with no drilling required, making them ideal for screening a large floor fast, but they can't stand alone for a warranty-backed installation.
RH testing is the only one of the three that gives a true picture of internal slab moisture rather than a surface proxy, which is why most flooring and coating manufacturers name it directly in their warranty language.
How to Run an In-Situ RH Test the Right Way
An ASTM F2170 test hinges on three things: drilling depth, how many holes you drill, and how long you wait before reading the sensor.
- Drill to the correct depth. For a slab drying from one side (the typical slab-on-grade), drill to 40% of the total slab thickness. For a slab drying from both sides, such as a suspended slab open to airflow above and below, drill to 20% of thickness measured from the top.
- Test enough locations. The minimum is three tests for the first 1,000 square feet, plus one additional test for every 1,000 square feet after that. A 3,000 square foot warehouse floor needs several test points, proportionally spaced to capture variation across the slab rather than clustered near the loading dock, spread to capture variation across the slab rather than clustered near the loading dock.
- Let the sensor equilibrate. Sensors need a minimum of 24 hours sealed in the drilled hole before you take a reading, and many manufacturers recommend checking for drift by comparing two readings taken hours apart. The slab also needs to sit at service conditions, meaning normal HVAC temperature and humidity, for at least 48 hours before drilling even starts.
- Record everything. A defensible report includes a floor plan marking each test location, the sensor serial numbers, ambient temperature, the RH percentage at each point, and the date and time of both installation and final reading.
Statistic: Sample size scales directly with square footage under ASTM F2170: three tests cover your first 1,000 square feet, then one more test per additional 1,000 square feet, so a small variance in slab drying can hide between widely spaced holes if you test the bare minimum on an uneven pour.
Running a Calcium Chloride (MVER) Test Correctly
The calcium chloride test uses a small dish of anhydrous calcium chloride sealed under a dome on the slab surface for exactly 24 hours. The dish absorbs ambient moisture vapor, and you weigh it before and after to calculate the moisture vapor emission rate in pounds per 1,000 square feet per 24 hours.
- MVER measures vapor leaving the surface, not the humidity trapped deeper in the slab, so it can under-read a slab that's wet in the middle but dry near the top.
- Old sealers, curing compounds, or even recent cleaning can throw off the dish reading and produce a falsely low result.
- Compare your MVER number directly against the flooring or coating manufacturer's published limit. There's no universal cutoff that applies across every product line.
- When the slab has embedded radiant heating or post-tension cables that make drilling risky, calcium chloride becomes a practical fallback, but document it as a secondary method with its own limitations noted.
If your project allows drilling, RH testing gives a more complete picture. Calcium chloride earns its place when time, slab conditions, or manufacturer specs call for it specifically.
Using Moisture Meters as a Screening Tool, Not a Verdict
Handheld impedance meters read electrical resistance in the top three quarters of an inch of concrete, which makes them fast but shallow. They're built to compare relative wetness across a floor, not to certify a slab ready for flooring.
- Take 3 to 5 readings within a single square foot at each location and record the highest number, per ASTM F2659 guidance.
- Rebar, chlorides, carbonation, and surface contaminants can all skew a reading higher or lower than the concrete's actual moisture state.
- Any spot that reads unusually high compared to the rest of the floor needs a follow-up RH or MVER test before you make a decision there.
- Never rely on meter scans alone for a job with a manufacturer warranty attached. They tell you where to look, not whether to proceed.
Pro Tip: Walk the whole floor with a moisture meter first, mark the highest readings with tape, then place your RH probes at those exact spots. You'll catch the worst-case moisture instead of guessing at random locations.
Prepping the Slab Before You Test
Bad prep produces bad data no matter how good the test method is.
- Condition the space first. Run the HVAC system at normal service temperature and humidity for at least 48 hours before drilling or placing any test. A cold, unconditioned building gives you a false low reading.
- Keep holes away from edges. Drill test holes at least 3 feet from walls, columns, and construction joints, where moisture behaves differently than the rest of the field.
- Strip anything covering the concrete. Curing compounds, old adhesive, and sealers all interfere with both RH and MVER results, so remove them at each test location first.
- Know what's underneath. Check slab thickness and confirm the location of embedded electrical, radiant heat lines, or post-tension cables before you drill anything.
- Photograph and log the plan. A dated photo of each labeled test hole, tied to your floor plan, saves arguments later if a manufacturer or client questions your methodology.
Reading the Results and Deciding What Comes Next
The number on your report only matters against the flooring or coating manufacturer's specific threshold. There's no single RH percentage or MVER value that works across every product line, so pull the manufacturer's technical data sheet before you set an acceptance number in your head.
- If even one test location exceeds the manufacturer's limit, the whole floor is generally treated as a fail until you remediate or switch to a moisture-tolerant product.
- Statistic: A test result is a snapshot, not a permanent record. Environmental changes, groundwater shifts, or sealing the floor with an impermeable covering can all change slab moisture after the fact, so a passing result from six months ago doesn't guarantee a passing result today.
- Retest after any drying period or mitigation work, using the same hole locations where practical, and log the new date and readings against the original report.
- A clean acceptance report includes the test method, every location's result, the manufacturer threshold you measured against, and a clear pass/fail call for each point.
Common Testing Mistakes and How to Fix a Wet Slab
Most failed installations trace back to a handful of repeat mistakes.
- Testing before the 48 hour service-condition window, which skews every reading that follows.
- Relying on a moisture meter scan alone and skipping RH or MVER confirmation on a job with a warranty attached.
- Drilling too shallow or too deep for the slab's drying profile, throwing off the entire RH reading.
- Ignoring old sealers or curing compounds that block accurate surface readings on a calcium chloride test.
When a slab tests wet, you generally have three paths: give it more drying time and retest, grind the surface and apply a vapor mitigation membrane, or switch to a coating system rated for higher moisture tolerance. A slab with chronic moisture problems, especially basements below grade, sometimes needs a lab consultant to identify whether groundwater or hydrostatic pressure is the real source before any coating goes down, as explained in this complete guide to causes of moisture problems in roofs and attics. Ongoing dampness that isn't addressed properly can eventually cause mold to develop under a coating, which costs far more to fix than the original test would have.
Pro Tip: If your calcium chloride reading looks borderline, retest with an RH probe before ordering materials. MVER and RH sometimes tell different stories on the same slab, and the RH number tends to hold up better over time.
Why a Prep-First Approach Treats Testing as Step One, Not an Afterthought
A moisture test only protects your investment if the surface prep that follows actually removes what's blocking adhesion. Every project can benefit from diamond-grinding preparation because it strips away the surface contamination, laitance, and old coatings that skew moisture readings and cause bonding failures later. A slab that passes its RH test can still produce an uneven or blotchy coating if the surface underneath wasn't properly prepped before application.
Documentation matters just as much as the grinding. Keeping test locations, sensor readings, and dates on file gives everyone involved, tester and installer alike, a shared record to point back to if a coating question comes up down the line. That kind of coordination between whoever runs the moisture test and whoever applies the finish is what keeps a floor performing years later instead of failing in the first winter.
— Stephen
Get a Moisture-Ready Floor Assessment From an Epoxy Flooring Specialist
Bad readings don't have to mean a canceled project. A knowledgeable epoxy flooring company evaluates what your moisture test results actually mean for your slab and matches you with a coating system or mitigation plan built to handle it, instead of walking away from a job that needs extra prep.

Whether you're dealing with a damp basement, a garage slab that tested borderline, or a commercial floor waiting on a go/no-go call, A diamond-grinding process addresses the surface issues that generic installers skip past. That's the difference between a coating that lasts years and one that bubbles or peels within a season. Homeowners dealing with basement moisture specifically can review basement epoxy flooring options built with mitigation in mind, while garage and commercial clients can explore the full range of coating systems. If you've got test results in hand, or need someone to help interpret them, request a free quote and get a straight answer on what your slab needs next.
Standards Worth Reading Directly
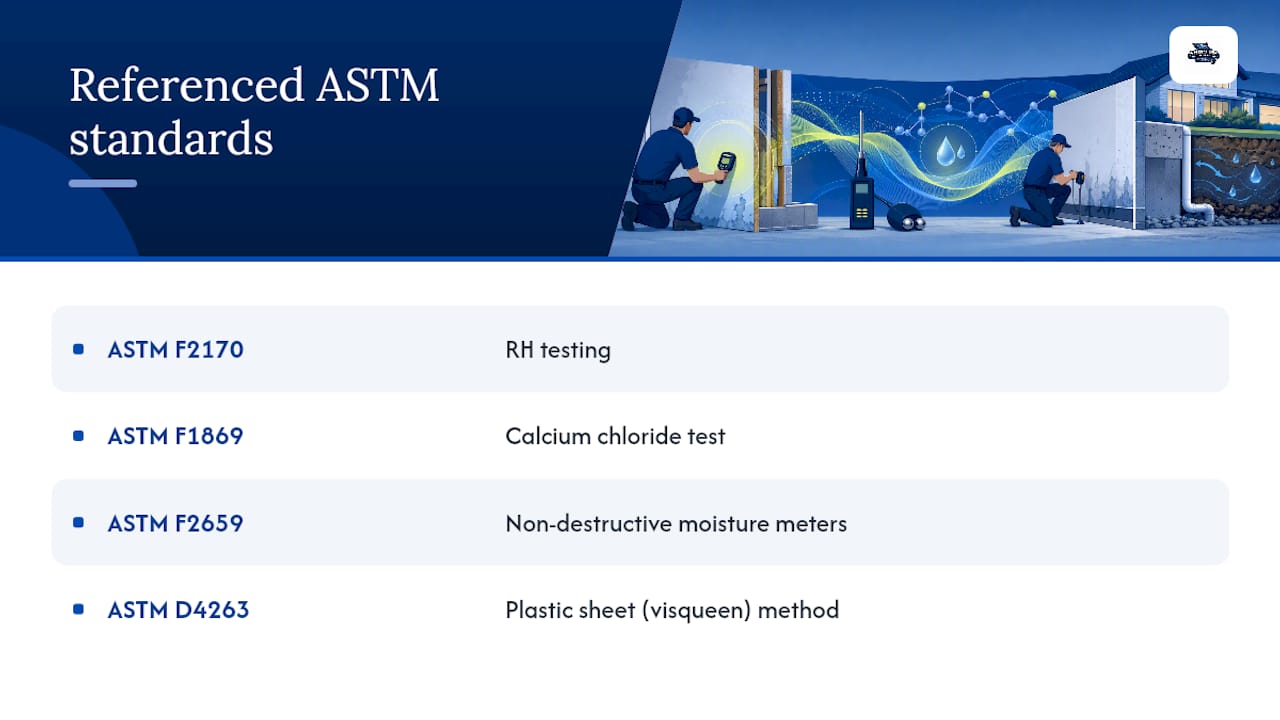
For procedural detail beyond this guide, consult ASTM F2170 for RH testing, ASTM F1869 for calcium chloride, ASTM F2659 for non-destructive meters, and ASTM D4263 for the plastic sheet method.
Sources
- ASTM F2170 vs F1869 comparison (IFTI)
- How to non-destructively test the moisture content of concrete slabs (DeFelsko)