
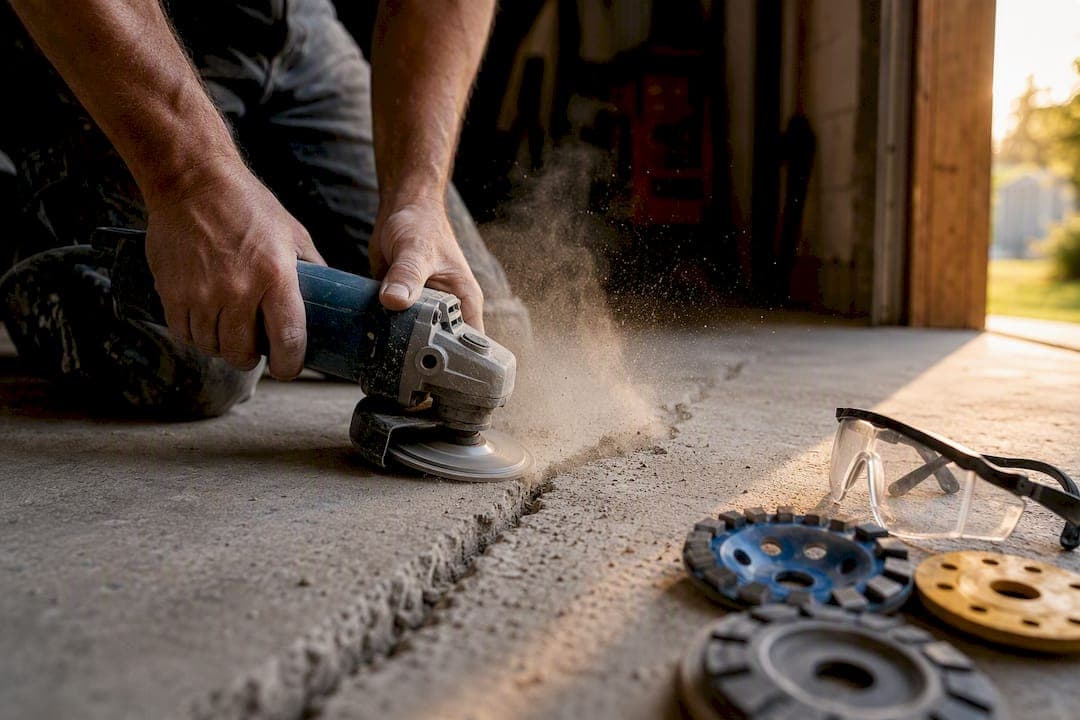
For a contractor-installed epoxy floor, "epoxy crack repair" means one integrated workflow: inspection, moisture testing, diamond grinding, movement-aware crack routing and filling, then priming, all completed before a single drop of topcoat goes down. Skip any step and the crack comes back through the coating within a year or two. If you're planning a coating project, start by scheduling an inspection with a contractor who grinds rather than etches.
TL;DR:
- Proper epoxy crack repair requires diamond grinding, routing, moisture testing, and tailored filling to ensure long-term adhesion and prevent future failures.
- Contractors must check moisture levels with ASTM F2170 or F1869 tests and only proceed with epoxy application if the slab is dry enough; skipping this causes delamination.
- Routing cracks into a clean channel before filling, overfilling slightly, and priming are critical to avoid telegraphing and ensure a durable bond that lasts years.
- The choice of filler depends on whether the crack is still moving or has stabilized, with seasonal movement cracks needing flexible materials.
- A professional contractor should provide detailed photos of crack routing, a materials list, and a clear scope before signing, not just a quick quote or vague answers.
Table of Contents
- What Does Professional Epoxy Crack Repair Actually Include?
- How Does a Contractor Handle Epoxy Crack Repair Step by Step?
- How Long Does It Take and What Drives the Cost?
- What Should You Ask Before Hiring a Crack Repair Contractor?
- Why Diamond Grinding Changes Everything About Crack Repair
- What to Expect From a Free Inspection and Quote
- Further Reading and Technical References
What Does Professional Epoxy Crack Repair Actually Include?
A legitimate epoxy crack repair job is not a caulk gun and a putty knife. It's a defined scope that a contractor should walk you through before signing anything.
Here's what falls inside that scope on most residential and commercial jobs:
- A visual and moisture inspection of the slab, including checks for prior sealers or curing compounds
- Diamond grinding (or shot blasting on larger commercial floors) to open the surface pores
- Routing or "chasing" cracks into a clean channel rather than just filling the surface gap
- Selecting a filler matched to whether the crack is still moving or has stabilized
- Patching any spalled or chipped areas with epoxy mortar
- Priming and applying the first build coat once repairs are cured and ground flush
Not every crack needs the same treatment. Hairline cracks that have stopped moving are cosmetic and get filled and ground flush. Cracks that widen with the seasons, run through a footing, or show vertical offset are structural, and a coating contractor should refer you to a foundation specialist rather than bury the problem under resin. This article covers the contractor-performed process integrated into a coating system, not retail crack-repair kits or structural injection systems for foundation walls. Those solve a different problem for a different buyer.
How Does a Contractor Handle Epoxy Crack Repair Step by Step?
Here's the sequence a competent crew follows, and why each step exists.
- Inspect and test for moisture. The crew checks for oil staining, prior sealers, and curing compounds, then runs a moisture test. In-situ relative humidity probes under ASTM F2170 or calcium chloride testing under ASTM F1869 tell the crew whether the slab is dry enough for standard epoxy or whether a moisture-mitigating primer is required. Skipping this step is how blistering and delamination show up months later.
- Grind the surface to a proper profile. Diamond grinding removes the weak top layer of cement paste (laitance) and opens a consistent concrete surface profile in the CSP 2–3 range. Dust collection runs continuously, and edges and corners get detailed by hand where the grinder can't reach.
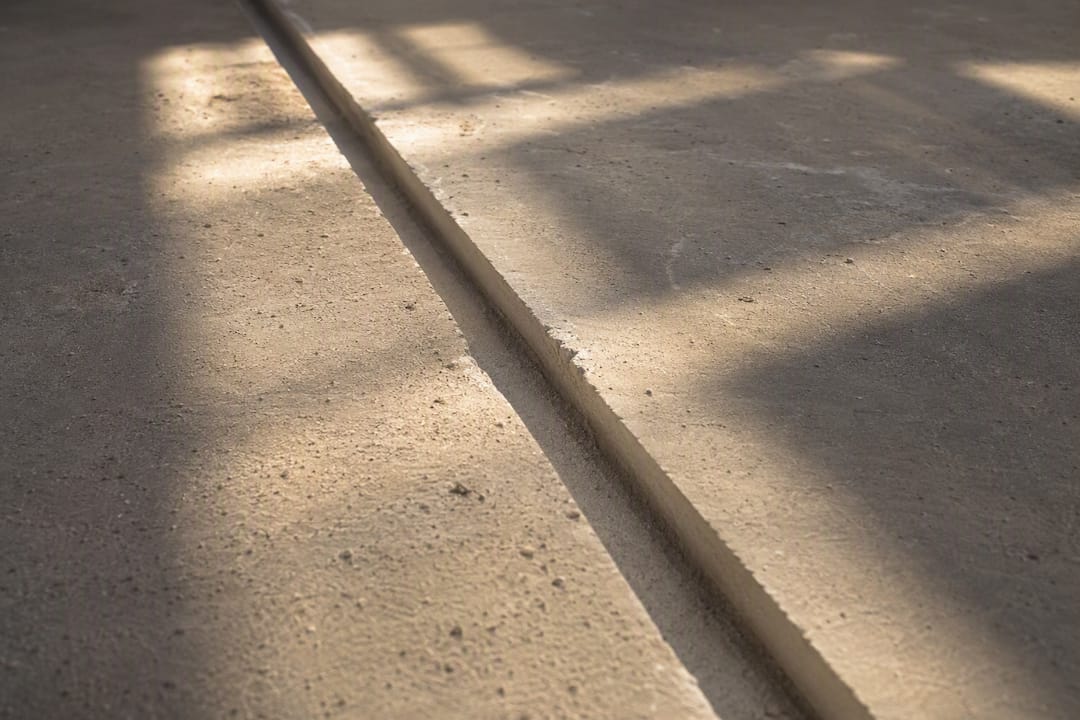
- Route and vacuum the cracks. Instead of smearing filler over a hairline gap, the crew chases the crack into a wider, cleaner channel and vacuums out every bit of dust and debris. Filler bonds to a clean cavity; it doesn't bond to dust.
- Choose the right filler and overfill. Static cracks generally take a high-modulus epoxy filler. Cracks still under seasonal movement need a semi-rigid material with some flex, so the repair doesn't crack again next winter. The crew overfills slightly, then grinds it flush once cured.
- Patch spalls with epoxy mortar. Chipped or pitted areas get filled with a trowel-grade epoxy mortar, ground level with the surrounding slab.
- Prime and back-roll. The primer coat gets squeegeed thin and back-rolled to push resin down into the freshly ground profile, which is what creates a mechanical bond instead of a coating that just sits on top.
This sequence prevents the three failures that plague DIY and shortcut jobs: delamination (coating peeling off because it never bonded to the profile), outgassing (bubbles forming as trapped moisture pushes through uncured epoxy), and telegraphing (the old crack silently reappearing through the new topcoat because it was filled but never routed).
Pro Tip: Ask to see the routed cracks before they're filled. A crew that's actually chasing cracks properly will have no problem showing you the clean channel before it disappears under resin.
How Long Does It Take and What Drives the Cost?
Most residential garage or basement jobs run one to three days from inspection to final coat, depending on square footage and how much crack repair is needed. Commercial floors with heavy grinding or shot blasting can stretch to a week or more. Light foot traffic is usually safe within 24 hours of the final coat, but full chemical cure, the point where the floor can handle heavy vehicle weight or chemical exposure, typically takes several days longer.
A handful of factors move the price:
- Total square footage and the linear footage of cracks needing routing
- Whether shot blasting is needed instead of standard diamond grinding
- Moisture mitigation products, required if testing under ASTM F2170 or F1869 comes back high
- Decorative flake, metallic, or custom color systems layered on top of the base coats
Temperature and humidity readings can force a delay or a material swap. Most epoxy systems have a workable temperature and cure window, and a contractor who ignores that window instead of rescheduling around it is cutting corners you'll pay for later. Ask for the manufacturer's technical data sheet (TDS) for whatever product they're using; it will list exact application temperatures, recoat windows, and cure times.
What Should You Ask Before Hiring a Crack Repair Contractor?
The gap between a floor that lasts fifteen years and one that fails in eighteen months usually comes down to five minutes of questions you didn't ask upfront.
- Do you grind or shot blast, or do you acid etch? Grinding and shot blasting produce a reliable CSP 2–3 profile. Acid etching is inconsistent and, on many slabs, doesn't open the surface enough for a lasting bond.
- Which moisture test do you use, and can I see a sample report? A contractor who can't name ASTM F2170 or F1869 probably isn't testing at all.
- What filler and primer products do you use, and can I see the TDS? Vague answers like "industrial epoxy" without a product name are a red flag.
- How do you handle expansion and control joints? These are often designed to move and shouldn't be rigidly filled without a joint detail meant to accept it.
- What's the warranty, and what does it exclude? Ask specifically whether crack recurrence is covered.
Before signing, ask for photos of a previous job's routed cracks, before-and-after grinding shots, and a written materials list. A contractor with nothing to show has nothing to prove the prep actually happened.
Why Diamond Grinding Changes Everything About Crack Repair
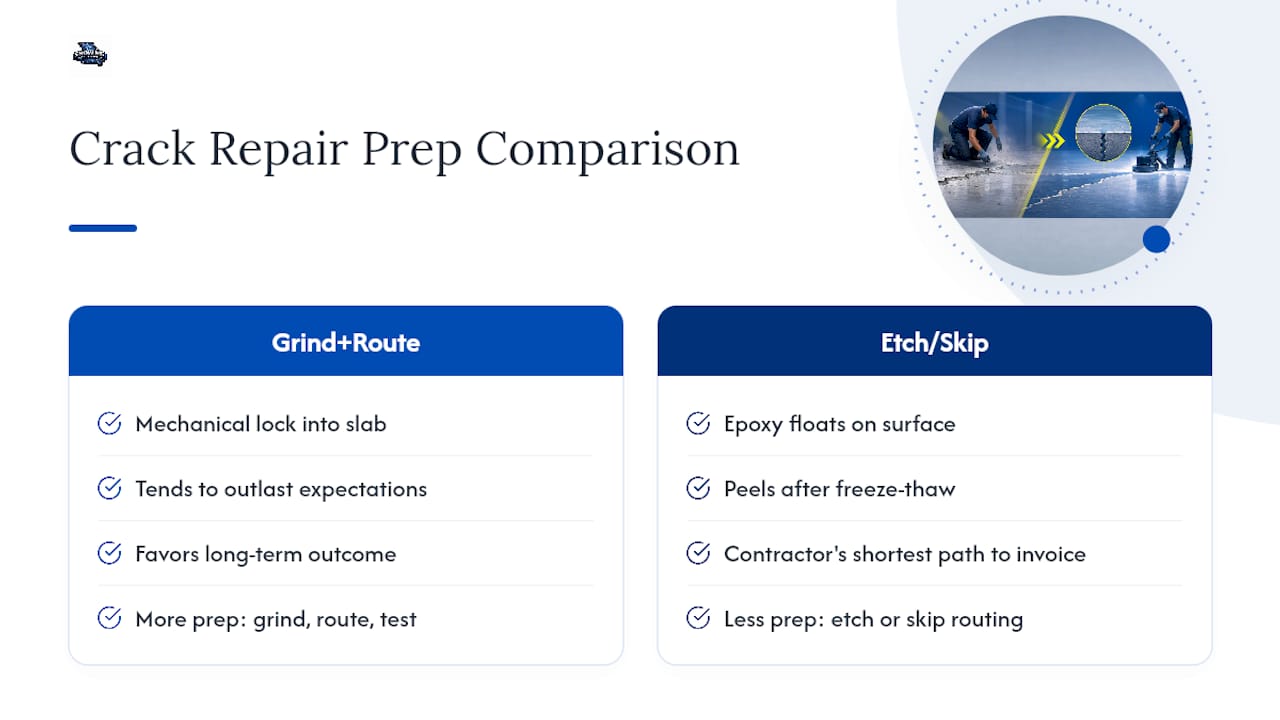
Most floor failures Showmeepoxy gets called to diagnose trace back to one of two things: a crew that etched instead of ground, or a crew that filled a crack without routing it first. Diamond grinding isn't a nice-to-have step tacked onto the estimate. It's the difference between epoxy that mechanically locks into the slab and epoxy that's essentially floating on top of it, waiting for the first freeze-thaw cycle to peel it loose.
The industrial-grade materials Showmeepoxy pairs with that grinding process matter less than the prep itself. A premium epoxy over a poorly profiled slab still fails. A modest epoxy over a properly ground, moisture-tested, correctly routed slab tends to outlast expectations, and that's the trade-off Showmeepoxy consistently makes in favor of the reader's long-term outcome rather than the contractor's shortest path to a finished invoice.
— Stephen
What to Expect From a Free Inspection and Quote
Showmeepoxy is the local alternative to guesswork flooring bids: instead of a quick walk-through and a number scribbled on a business card, you get moisture testing, a real crack assessment, and a materials list before you sign anything.

A Showmeepoxy inspection covers moisture testing, a full assessment of visible cracks and spalls, a recommended repair and coating plan, and a realistic timeline for your specific project, whether that's a garage, a moisture-prone basement, or a commercial floor. If you want a rough number before scheduling, run your square footage through the free epoxy flooring cost calculator first. Every quote comes with a written scope, honest pricing, and no pressure to sign on the spot. If your slab already has coating on it, check whether it needs to come off first by reading about epoxy over existing concrete. When you're ready, contact Showmeepoxy to schedule your free inspection and get a firm quote in hand.
Further Reading and Technical References
- Epoxy Floor Prep Checklist: Grind vs Acid Etch, Cleaning, Cracks
- The Complete Surface Prep Checklist Before Epoxy
- The Ultimate Guide to Professional Epoxy Flooring Installation: Process, Benefits, and Longevity
- Do You Need to Grind Concrete Before Epoxy?
- How Long Will an Epoxy Floor Last in a Garage?