
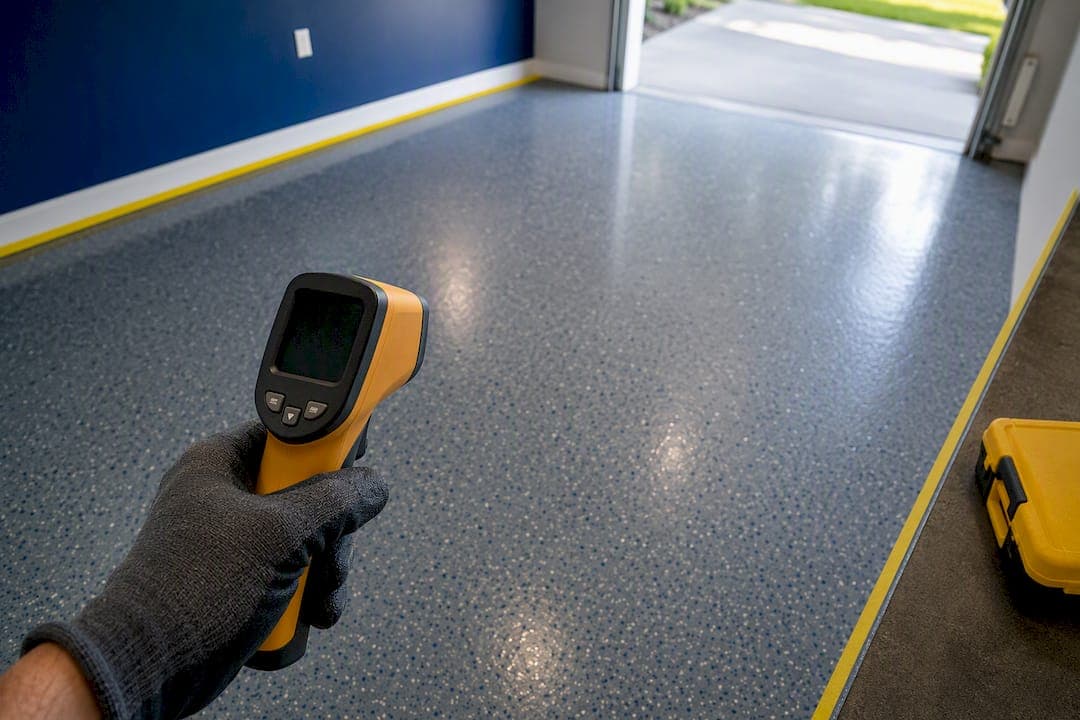
Most epoxy is tack-free within 8 to 24 hours, safe for light foot traffic in 24 to 72 hours, and fully cured in about 7 days at 70 to 75°F. Temperature and coating thickness are what move that schedule. Drop below 60°F and full cure can stretch to two or three weeks; the wrong hardener or a cold slab can stall it entirely. If your timeline is tight, check the room temperature before you check the calendar.
TL;DR:
- Temperature is the primary factor affecting epoxy cure times, with every 10°F drop roughly doubling the curing duration below 70°F.
- Thick pours and cold slabs can cause uneven curing and delays, making slab temperature a critical measurement before starting work.
- Full cure for standard epoxy takes about seven days at 70 to 75°F, but can stretch to weeks if conditions are colder or uneven.
- Light foot traffic is possible after 24 to 48 hours if the surface passes the tack test, but heavy use requires the full cure period.
- Using a slower hardener or supplemental heat can extend workability and curing but increases the risk of defects if not carefully managed.
Table of Contents
- Epoxy Cure Time by Type: Tabletop, Deep Pour, and Fast-Cure
- What Actually Controls Epoxy Hardening Time
- How to Tell If Your Epoxy Is Fully Cured
- Speeding Up or Slowing Down Epoxy Cure Safely
- Why Epoxy Won't Cure (and How to Fix It)
- How Installers Control Cure on Real Job Sites
- What a Real Project Timeline Looks Like Day by Day
- Real Talk on Cure Times From Someone Who's Seen the Callbacks
- Get a Reliable Cure Every Time With Show Me Epoxy
- Where to Verify Cure Times for Your Specific Product
- Sources
Epoxy Cure Time by Type: Tabletop, Deep Pour, and Fast-Cure
Not all epoxy behaves the same way once it hits the surface, and the label "epoxy" covers products with wildly different chemistry. A tabletop resin, a deep-pour casting system, and a five-minute hardware-store epoxy all cure on separate clocks, even sitting in the same 72°F garage.
Standard tabletop epoxy reaches tack-free in roughly 8 to 12 hours, can usually be demolded around 24 hours, hits functional hardness near 72 hours, and reaches full cure at about 7 days at 70 to 75°F. Deep-pour and casting resins, designed for river tables and thick encapsulations, run much slower, often requiring multiple days before demolding and up to two weeks for a full cure, since thick pours generate their own heat and need time to dissipate it safely without cracking.
UV-cure resins and five-minute epoxies don't follow the temperature-driven rules at all. A UV resin sets in minutes under an appropriate lamp because light, not ambient heat, triggers the reaction. Five-minute epoxy sets fast on the surface but often needs additional hours to reach full mechanical strength in thicker sections, which is why it's a poor substitute for structural or tabletop work.
| Epoxy type | Tack-free | Demold / recoat | Light use | Full cure (70–75°F) |
|---|---|---|---|---|
| Tabletop / craft | 8–12 hrs | 24 hrs | ~72 hrs | 7 days |
| Deep pour / casting | 24 hours | 48–72 hrs | about 7 days | up to two weeks |
| Floor coating | 8–12 hrs | 12–24 hrs | 24–48 hrs | 7 days |
| Five-minute epoxy | Minutes | 1–2 hrs | Same day | 24–72 hrs (thin layers) |
At temperatures above typical room temperature, most standard epoxies cure faster, sometimes reaching full hardness in just a few days. Below typical room temperature, cure times lengthen noticeably, with some surfaces remaining tacky for extended periods. Check the manufacturer's technical data sheet for your specific product before you plan around any generic chart, including this one.
What Actually Controls Epoxy Hardening Time
Temperature does more to your schedule than any other variable. A rough rule of thumb: for every 10°F drop below the epoxy's rated range, cure time roughly doubles; see how to manage cold surfaces in winter conditions at One Day Doors & Closets. Most standard epoxies are formulated for a 70 to 75°F sweet spot, and manufacturers publish their timelines at that baseline, not at whatever temperature your garage happens to be in February.
A few other variables shift the clock just as much:
- Slab temperature versus air temperature. An unheated garage floor can sit 10 to 15 degrees colder than the air above it, especially in winter, which is why pros check both before starting work.
- Humidity and ventilation. High humidity slows solvent evaporation in some formulations and can cause a hazy or amine-blush finish that needs sanding.
- Substrate moisture. Concrete that hasn't fully dried, or a slab with rising moisture vapor, can prevent proper adhesion and mimic a "slow cure" that never actually resolves.
- Coat thickness. Thicker pours trap heat and cure differently than a thin coat, sometimes finishing faster in the center and slower at the edges.
- Mix ratio accuracy. Even a slightly off ratio, by volume or weight, throws the entire chemical reaction out of balance.
Pro Tip: Buy an infrared thermometer and check the slab, not just the room. A concrete floor holds cold longer than the air above it, and that gap is the single most common reason a "24 hour cure" turns into 48 hours of tacky floor.
How to Tell If Your Epoxy Is Fully Cured
Don't guess. Three simple checks tell you where you stand:
- Tack test. Press a clean fingertip or thumbnail lightly on an inconspicuous spot. If it leaves a mark or feels sticky, it's not ready for the next step, whatever the clock says.
- Sand test. Lightly sand a small hidden area. Fully cured epoxy produces a fine, dry dust. Uncured or under-cured epoxy gums up the sandpaper or smears.
- Chemical resistance check. A drop of isopropyl alcohol on cured epoxy should evaporate without softening the surface. If it leaves a soft or tacky patch, give it more time.
Light foot traffic is generally fine once the surface passes the tack test, typically 24 to 48 hours in. Heavy furniture, sanding, or a second coat usually wait until the recoat window your product's data sheet specifies. Vehicle traffic on a garage floor is the one that trips people up: even when the surface feels solid, the coating often needs the full 7-day cure before it can handle tire weight without dents or imprinting.
Speeding Up or Slowing Down Epoxy Cure Safely
You have more control over the clock than most people realize, but every shortcut carries a trade-off.
Supplemental heat, like a space heater or heat lamp aimed at the work area, speeds curing but raises the risk of yellowing, bubbling, or an uneven finish if it's too close or too direct. Keep heat sources at a distance and monitor the surface rather than blasting it.
Hardener choice matters just as much as temperature. A slower hardener buys you working time in warm weather and reduces the risk of a batch overheating in the pot. Batch size plays into this too: mixing large volumes concentrates heat and speeds the exothermic reaction, so pouring into a shallow, wide container instead of a deep cup helps the heat dissipate rather than accelerate the cure unevenly.
- Use a slower hardener in summer heat to extend open working time.
- Pour into shallow pans, not deep cups, to control exotherm.
- Run a fan or dehumidifier to manage humidity without disturbing the surface.
Pro Tip: If you're working in a cold garage, warm the room for a few hours before you mix, not just while you're pouring. A slab that's been sitting at 55°F all week won't catch up in the 20 minutes it takes you to apply the coating.
Why Epoxy Won't Cure (and How to Fix It)
Sticky, soft, or gummy epoxy after the expected cure window almost always traces back to one of three causes.
Wrong mix ratio. Eyeballing resin and hardener instead of measuring by volume or weight throws off the chemistry. If a small area stays tacky after 48 to 72 hours past the expected cure time, sand it down and recoat; if the whole batch is affected, you may need to remove it and start over.
Cold substrate. A floor or surface below the product's minimum temperature can trigger B-staging, where the reaction starts and then stalls. Warm the substrate promptly, or plan to remove and redo the coat after fresh prep.
- Contamination from dust, oil, or old sealer prevents proper bonding.
- Pouring too thick in one pass traps heat unevenly and can cause soft spots.
- High substrate moisture causes adhesion failure that looks identical to slow cure.
How Installers Control Cure on Real Job Sites
Professional installers don't guess at cure times. Show Me Epoxy measures both slab and ambient temperature before starting a job, because a concrete floor that reads cold to the touch can quietly drag a 7-day cure into two weeks, even in a heated room.
Diamond-grinding preparation and moisture mitigation matter here too. A lot of what looks like a "failed cure" is actually an adhesion failure caused by surface contamination or trapped moisture vapor, not a chemistry problem at all. That distinction is worth knowing before you grind concrete before epoxy yourself or hire it out.
Heavy vehicle loads, high-moisture basements, and deep pours are exactly the projects where a professional read on slab conditions saves you from redoing the whole floor.
What a Real Project Timeline Looks Like Day by Day
Coasters and small craft pours are the fastest: mix, pour, demold around 24 hours, and they're safe to handle lightly within a day or two, though full hardness still takes about a week.
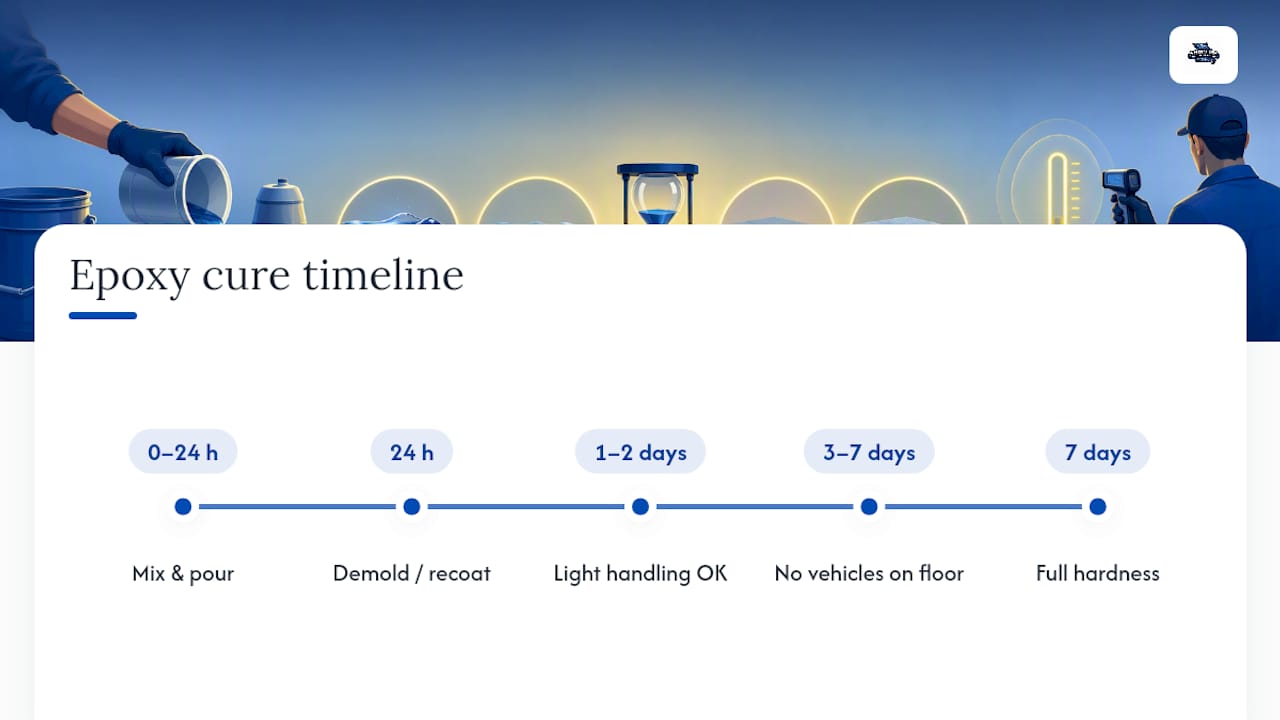
Tabletops and countertops need more patience. Plan on a recoat window within 24 hours of the first pour, then hold off on heavy use, cutting boards, or hot pans until the full 7-day mark, even if the surface feels rock hard on day three.
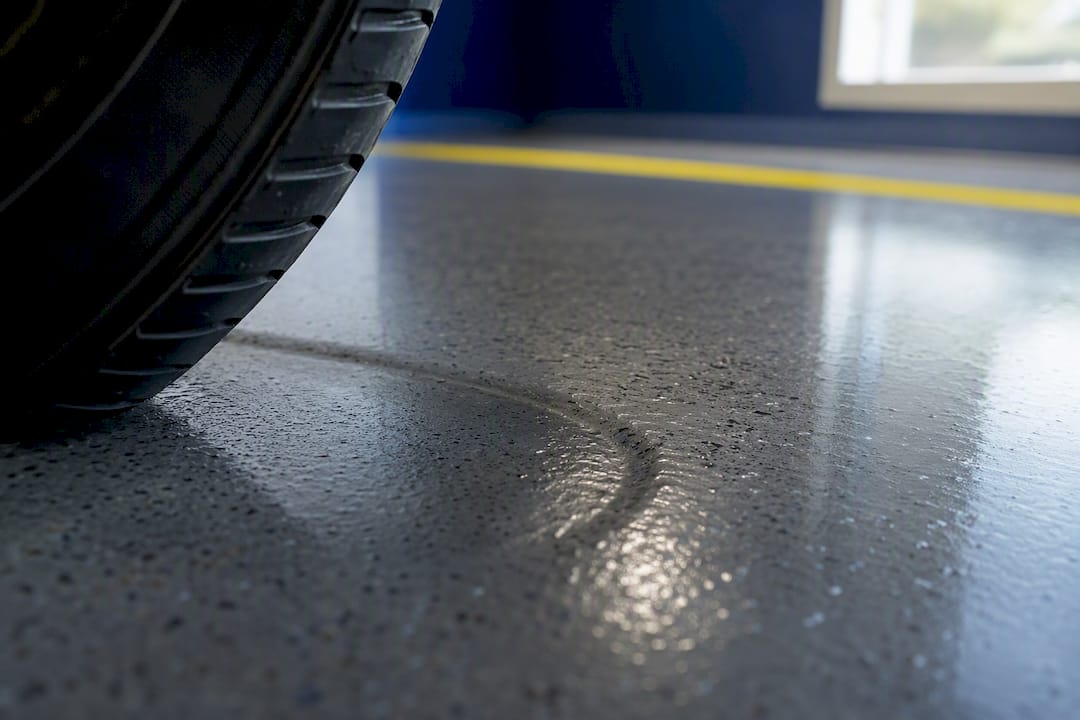
Garage floors are where people get impatient. Professionals typically ask homeowners to stay off the floor with vehicles for 3 to 7 days after installation, even when it's dry to the touch in a few hours, because tire weight on an under-cured coating leaves permanent marks.
Real Talk on Cure Times From Someone Who's Seen the Callbacks
Most cure problems people blame on "bad epoxy" are actually scheduling problems. Someone pours a garage floor coating on a 58°F Saturday in March, parks the car back inside Tuesday because the surface felt solid, and by Thursday there are tire divots that won't sand out. The epoxy wasn't defective. The slab was too cold to finish the job on the timeline the label promised.
The gap between what a data sheet says and what actually happens on your project comes down to one thing: manufacturers test at 70 to 77°F because it's a controllable lab condition, not because it reflects your basement in January. Treat every published cure time as a best-case number, then adjust down for your actual conditions before you commit to a schedule.
Where I'd push back on conventional DIY advice: waiting "until it feels dry" is not a cure test. It's a comfort test. The tack, sand, and chemical resistance checks take five extra minutes and save you from redoing an entire floor.
— Stephen
Get a Reliable Cure Every Time With Show Me Epoxy
Show Me Epoxy skips the guesswork that causes most DIY cure failures. Every job starts with diamond-grinding surface preparation, not a quick acid wash, so the coating bonds permanently to the slab instead of failing in a way that looks like a slow or incomplete cure months later. We also check slab and ambient temperature before scheduling installation day, which is exactly the kind of monitoring that prevents the cold-floor callbacks described above.

If you're dealing with a cold basement, a moisture-prone slab, or a garage floor that needs to handle daily vehicle traffic, those are precisely the conditions where professional installation pays for itself. Run your numbers through the Free Epoxy Flooring Cost Calculator to get a realistic estimate, or reach out through our contact page to book a no-pressure consultation and get your project on a schedule built around your actual conditions, not a generic label.
Where to Verify Cure Times for Your Specific Product
Every epoxy formulation is different, so treat this article as a planning guide, not a replacement for product-specific documentation. Start with the WEST SYSTEM epoxy chemistry guide for the fundamentals of how temperature drives the curing reaction. Cross-check timelines against a resin cure time chart for temperature-adjusted estimates, and always read the manufacturer's technical data sheet for your exact product before committing to a project schedule.
Sources
- Epoxy Chemistry | WEST SYSTEM Epoxy
- Epoxy Resin Cure Time Chart: All Types & Temps Guide
- TDS EPOXY EP200® V04.2024 Final