
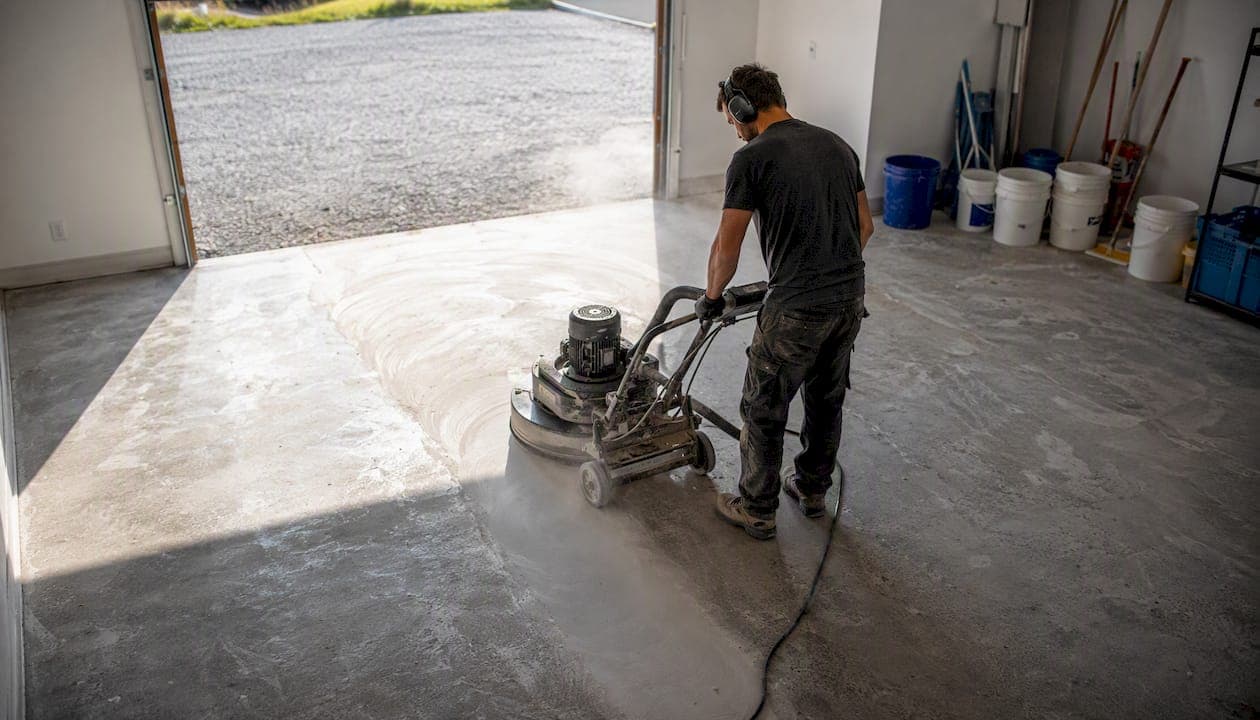
Epoxy garage floors run $2–$5 per square foot for DIY materials and $3–$12 per square foot installed by a professional, according to This Old House. In real dollars, that means:
- A 1-car garage (250 sq ft): $500–$1,250 DIY / $750–$3,000 pro
- A 2-car garage (500 sq ft): $1,000–$2,500 DIY / $1,600–$5,800 pro
- A 3-car garage (750 sq ft): $1,500–$3,750 DIY / $2,250–$9,000 pro
The single biggest variable in any of those ranges is surface preparation. A slab with moisture issues, existing paint, or structural cracks can push a project toward the top of its range before a drop of epoxy is mixed. Keep that in mind as you read the breakdowns below.
Key Takeaways
Professional epoxy installation typically costs $3–$12 per square foot installed, with surface preparation as the single biggest variable separating a 2-year failure from a 15-year floor.
| Point | Details |
|---|---|
| DIY vs pro cost range | DIY materials run $2–$5/sq ft; professional installation runs $3–$12/sq ft all-in. |
| Typical totals by garage size | 1-car: $800–$3,000 pro; 2-car: $1,600–$5,800 pro; 3-car: $2,400–$9,000 pro. |
| Prep is the top cost driver | Diamond grinding adds $0.75–$2.00/sq ft but is the primary factor in long-term adhesion. |
| Coating type shifts price | Water-based starts at $3/sq ft installed; polyaspartic and metallic systems reach $12–$14/sq ft. |
| Showmeepoxy approach | Diamond grinding on every project, industrial-grade materials, and line-item quotes for transparent comparison. |
Table of Contents
- How garage epoxy cost breaks down per square foot
- Quick total-cost examples for 1-car, 2-car, and 3-car garages
- What raises or lowers your garage epoxy price
- Coating options and what each system typically costs
- DIY vs professional installation: what you actually get for the money
- Hidden and add-on costs to ask about before signing
- How long installation takes, and how long the floor should last
- Practical ways to lower total cost without cutting corners
- Why surface preparation changes everything (and what diamond grinding actually does)
- The case for spending more on prep and less on finish
- Get an accurate quote before you commit to any number
- Sources
How garage epoxy cost breaks down per square foot
Contractor quotes commonly provide a single per-square-foot installed price that includes multiple cost components bundled together. Knowing what's inside the quote lets you compare bids on equal footing.
Labor typically accounts for 33%–60% of the total installed cost, with prep labor alone adding $1–$7 per square foot depending on scope. Here's how a typical professional quote breaks apart:
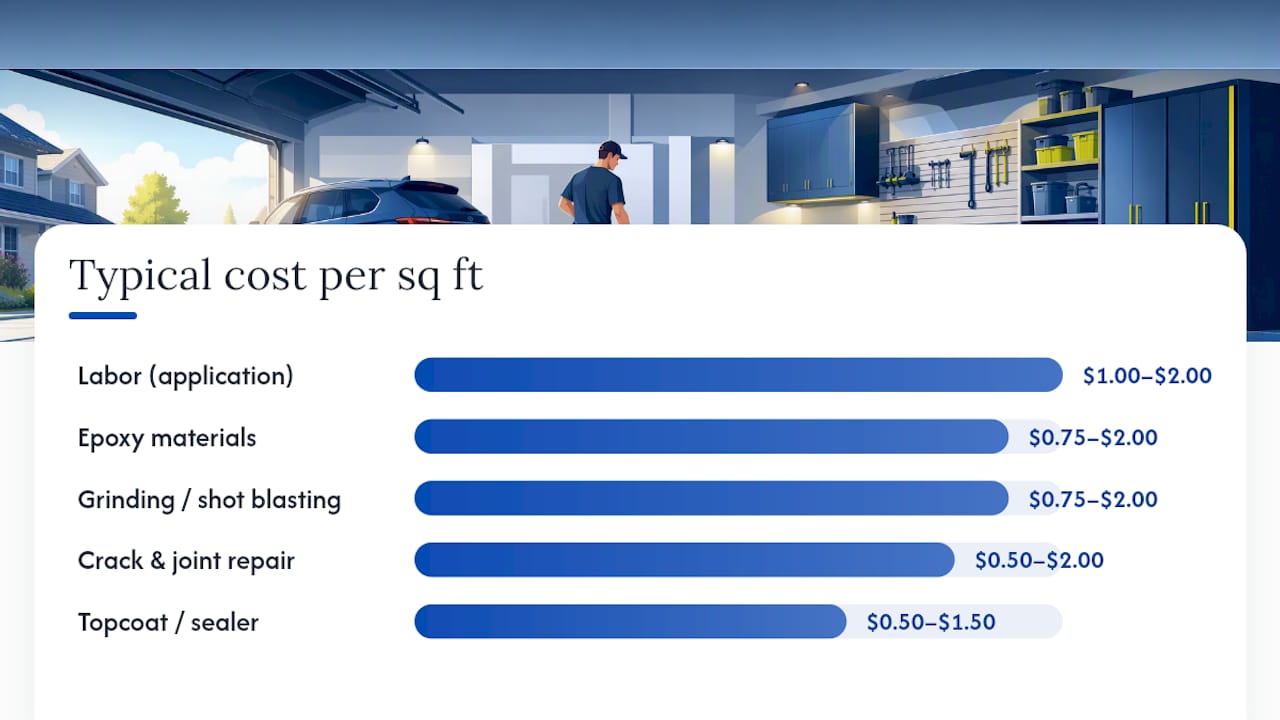
| Cost Component | Typical Range (per sq ft) |
|---|---|
| Epoxy materials (base coat) | $0.75–$2.00 |
| Topcoat / sealer | $0.50–$1.50 |
| Labor (application) | $1.00–$2.00 |
| Diamond grinding / shot blasting | $0.75–$2.00 |
| Crack and joint repair | $0.50–$2.00 |
| Mobilization / minimum charge | $150–$400 flat |
Quick calculation example: A 500 sq ft two-car garage at $6/sq ft installed (the national residential baseline) works out to $3,000 before any add-ons. Add a crack repair at $1/sq ft and a mobilization fee of $250, and the real total is $3,750. That gap between the quoted rate and the final invoice is where most homeowners get surprised.
The price for DIY kits covers only materials and does not include labor or surface preparation. Professional installation quotes reflect the full scope, including materials, labor, and prep.
Quick total-cost examples for 1-car, 2-car, and 3-car garages
| Garage Size | Approx. Sq Ft | DIY Materials | Pro Installed (typical) |
|---|---|---|---|
| 1-car | 200 sq ft | $400–$1,200 | $800–$3,000 |
| 2-car | 400–600 sq ft | $800–$3,000 | $1,600–$5,800 |
| 3-car | 600 sq ft | $1,200–$3,600 | $2,400–$9,000 |
Pro-installed 2-car garage jobs commonly land between $1,600 and $5,800, with metallic finishes and heavy concrete repairs pushing totals toward the top of that range.
Contractor minimums matter on small jobs. Most contractors set a floor of $500–$800 regardless of square footage. That means a 200 sq ft one-car garage can cost more per square foot than a 600 sq ft three-car garage, simply because the mobilization and setup time is nearly identical. If your garage is on the smaller side, ask the contractor whether their minimum applies and factor it into your per-square-foot comparison.
Math for a typical 2-car garage at $6/sq ft: 500 sq ft × $6 = $3,000 base. Add flake broadcast at $0.75/sq ft ($375) and a polyaspartic topcoat at $1/sq ft ($500), and the total reaches $3,875. Still inside the typical range, but noticeably above the base rate.
What raises or lowers your garage epoxy price
Most quotes land where they do because of a handful of variables. Here's what actually moves the number:
- Surface preparation method. Diamond grinding versus acid etching is the single biggest cost driver. Grinding can routinely double labor time compared with light etching, adding $0.75–$2.00/sq ft. It also produces a far more durable bond.
- Moisture and vapor issues. Slabs with high moisture vapor transmission need mitigation systems before any coating goes down. Expect to add $0.50–$1.50/sq ft when moisture testing flags a problem.
- Existing coatings or paint. Removing old paint or a failed prior epoxy adds prep time and often requires additional grinding passes.
- Cracks, spalls, and joint repairs. Structural cracks or deep spalling can add $0.50–$2.00/sq ft in repair materials and labor.
- Coating type and resin system. Water-based epoxy sits at the low end; 100% solids and polyaspartic systems cost more but last significantly longer.
- Finish complexity. A solid color is the least expensive finish. Decorative flake adds $0.50–$1.00/sq ft; metallic epoxy adds $1.50–$4.00/sq ft in labor and materials.
- Region and seasonality. Regional multipliers can shift national baselines by roughly 10%–40%, with Northeast and West Coast markets running higher and Midwest and Southeast markets running lower. Scheduling in the off-season (late fall or winter in most markets) sometimes unlocks lower rates.
Pro Tip: Ask any contractor to break out prep costs as a separate line item. If they refuse or bundle everything into one number, you can't tell whether a low bid is efficient or just skipping steps.
Coating options and what each system typically costs
Not all epoxy is the same product. The system you choose affects both the upfront price and how long the floor holds up.
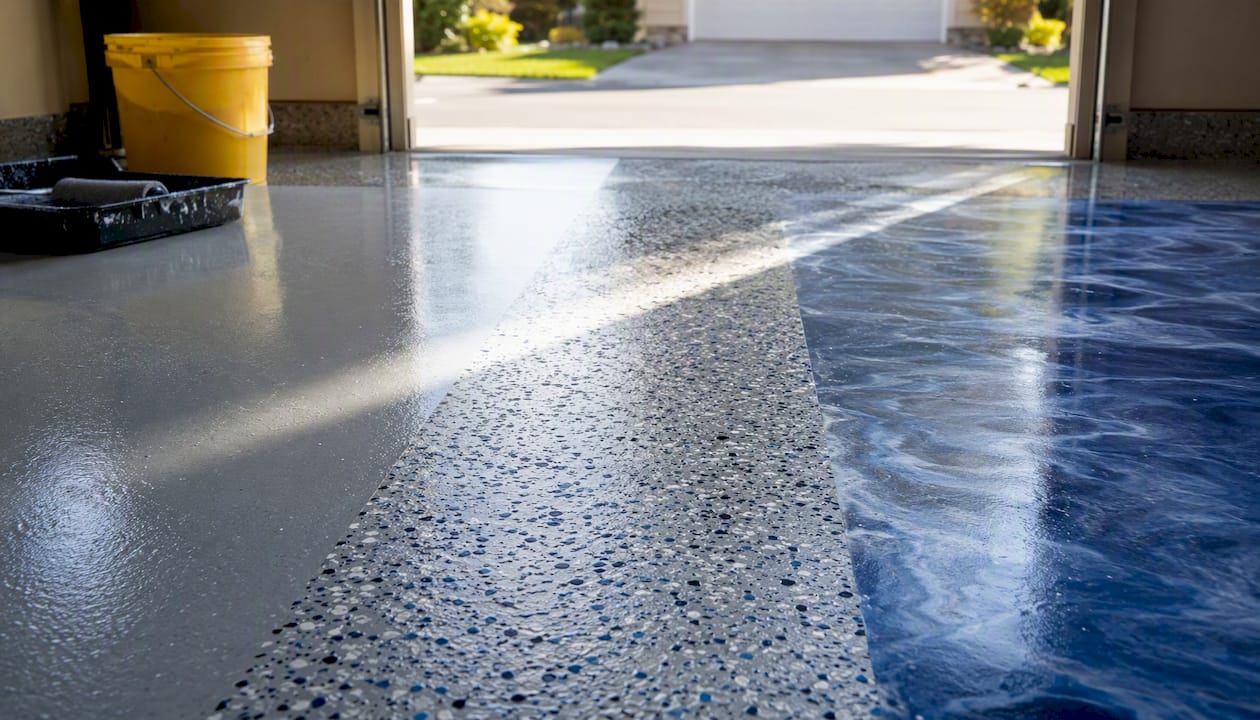
| Coating System | Installed Cost (per sq ft) | Key Tradeoff |
|---|---|---|
| Water-based epoxy | $3–$5 | Easiest to apply; thinner film, shorter lifespan |
| Solvent-based epoxy | $4–$7 | Better adhesion than water-based; VOC concerns |
| 100% solids epoxy | $5–$8 | Thickest film, best chemical resistance, no shrinkage |
| Flake / chip broadcast | $5–$9 | Decorative; hides imperfections; adds texture |
| Metallic epoxy | $7–$12 | High visual impact; labor-intensive; UV-sensitive without topcoat |
| Polyaspartic / polyurea | $5–$12 | Fast cure (drive on in 24 hours); UV-stable; popular topcoat choice |
Polyaspartic and metallic systems drive the high end of the $4–$12 installed range. Polyaspartic coatings cost more upfront but let homeowners return vehicles to the garage within 24 hours rather than waiting 3–7 days for a standard epoxy cure. For a busy household, that faster return-to-service often justifies the price difference.
It applies at a higher film thickness than water-based products, which means better chemical resistance and a longer service life without the premium price of a full polyaspartic system.
DIY vs professional installation: what you actually get for the money
The gap between a $2/sq ft DIY kit and a $7/sq ft professional install isn't just labor. It's a fundamentally different scope of work.
What a DIY kit includes: resin, hardener, and sometimes a broadcast flake and topcoat. What it doesn't include: a floor grinder, etching chemicals, crack filler, moisture testing, or any warranty. Once tool rentals and prep consumables are added, DIY all-in cost often approaches $3–$7 per square foot in practice, narrowing the savings gap considerably.
What professional pricing includes: diamond grinding or shot blasting, moisture testing, crack and joint repair, base coat, broadcast (if specified), topcoat, and a warranty tied to the installation method.
When DIY makes sense: a small, dry slab in good structural condition, a tight budget, and a willingness to rent a grinder and follow prep instructions precisely. A 200 sq ft one-car garage with no moisture issues and no existing coating is a reasonable DIY candidate.
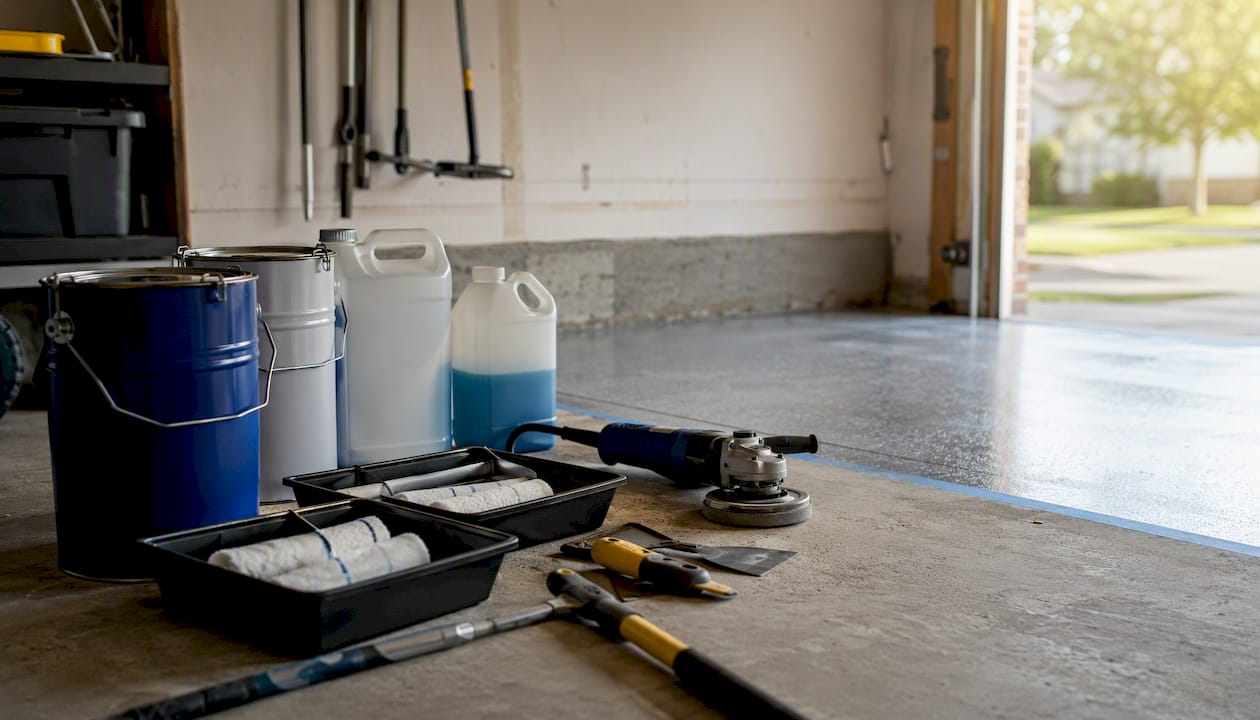
When to hire a pro: any garage over 400 sq ft, any slab with visible moisture staining or efflorescence, metallic or decorative flake finishes, or any situation where you want a warranty that holds. Inadequate prep is a frequent cause of DIY failures, and rework costs often exceed the original savings. If you're epoxying over existing concrete with unknown history, a professional assessment is worth the cost.
Hidden and add-on costs to ask about before signing
Concrete repair and resurfacing are the biggest surprises in epoxy quotes, and they can sometimes double the labor and materials on a project. Before you sign anything, ask specifically about each of these:
- Removal of existing coatings or paint. If your slab has old paint, a failed DIY epoxy, or a tile adhesive residue, removal adds prep time and cost.
- Diamond grinding. Some contractors include it; others quote it separately. Always confirm which.
- Moisture mitigation systems. A vapor barrier or moisture-blocking primer adds $0.50–$1.50/sq ft and is non-negotiable on slabs that test above acceptable vapor emission levels.
- Concrete resurfacing. Deep spalling or widespread surface damage may require a skim coat or resurfacer before any epoxy can be applied.
- Crack and floor joint repair. Hairline cracks are often included; structural cracks or wide control joints usually are not.
- Mobilization fees. A flat charge of $150–$400 to cover travel and setup, common on smaller jobs.
- Waste disposal. Grinding dust and chemical waste sometimes carry a disposal fee, particularly in municipalities with stricter regulations.
Questions to ask every contractor:
- Is diamond grinding included, or is prep quoted separately?
- Do you perform a moisture test before coating, and is mitigation included if needed?
- What does the warranty cover, and is it tied to the prep method?
- Are crack repairs included, or priced per linear foot?
- Is there a mobilization or minimum charge?
A contractor who can't answer those five questions clearly is a contractor worth skipping.
How long installation takes, and how long the floor should last
Typical professional installation timeline:
- Day 1: Diamond grinding, crack repair, moisture testing (4–8 hours)
- Day 2: Base coat application and flake broadcast if specified (2–4 hours)
- Day 3: Topcoat application (2–3 hours)
- Vehicle return: 24–48 hours for polyaspartic topcoats; 5–7 days for standard epoxy cure
DIY projects on a similar footprint often stretch across two weekends once drying time between coats is factored in.
On lifespan: a properly prepared and professionally installed 100% solids epoxy floor typically lasts 10–20 years with routine maintenance. A water-based DIY kit on an unground slab often shows delamination within 2–5 years. The prep is what separates those two outcomes, not the brand of resin.
Expected lifespan varies significantly by system and prep quality. Polyaspartic topcoats add UV stability that extends color life outdoors or in sun-exposed garages. Metallic systems without a UV-stable clear can yellow within a few years.
Maintenance costs are low but real: plan for a pH-neutral floor cleaner ($15–$30/year), occasional reapplication of a topcoat sealer every 3–5 years ($0.50–$1.50/sq ft), and prompt cleanup of oil or chemical spills to prevent staining.
Practical ways to lower total cost without cutting corners
Saving money on an epoxy project doesn't require sacrificing durability. It requires spending in the right places.
- Schedule in the off-season. Many contractors offer lower rates or waive mobilization fees during late fall and winter when residential demand drops.
- Choose a solid color over metallic. You keep the 100% solids resin system (the part that matters for longevity) and cut $1.50–$4.00/sq ft in labor and specialty materials.
- Ask for prep to be priced separately. When grinding and crack repair are line items, you can see exactly what you're paying for and compare bids accurately.
- Bundle projects. Adding a basement or patio to the same visit often reduces the effective per-square-foot rate because mobilization is shared across a larger total area.
- Get 2–3 written, line-item quotes. A single quote gives you no baseline. Three quotes let you spot the outlier, whether it's a lowball that skips prep or a premium that's hard to justify.
Pro Tip: Use the Showmeepoxy free cost calculator to generate a local estimate before calling contractors. Walking into a quote conversation with a ballpark number makes it much easier to ask the right questions.
Why surface preparation changes everything (and what diamond grinding actually does)
Surface prep is where most of the cost variation in epoxy projects lives, and it's also where most DIY failures originate. Diamond grinding creates a mechanical bond by opening the concrete's pore structure at a microscopic level, giving the resin something to grip. Acid etching creates a chemical reaction that cleans the surface but leaves a much shallower profile.
The practical difference: a diamond-ground slab holds epoxy through thermal cycling, chemical exposure, and heavy vehicle traffic. An acid-etched slab is more likely to delaminate when any of those stressors appear, often within the first few years.
The prep is the whole job. A premium resin system on a poorly prepared slab will fail faster than a mid-tier system on a properly ground surface. Spending $0.75–$2.00/sq ft more on grinding is almost always the highest-return line item in any epoxy budget.
Concrete repairs and resurfacing can sometimes double labor and materials on a project, which is why a thorough inspection before quoting matters. Contractors who skip the inspection and quote a flat rate without seeing the slab are usually skipping the prep too.
Pro Tip: Ask any contractor for a signed prep checklist and confirm that the warranty is tied to the preparation method, not just the materials. A warranty that doesn't mention prep is a warranty that won't cover delamination, which is the most common failure mode.
Showmeepoxy uses diamond grinding on every project as a standard, not an upgrade. That's why the epoxy floors we install are built to hold up under Missouri's freeze-thaw cycles and real garage use, not just look good on day one.
The case for spending more on prep and less on finish
The conventional wisdom in epoxy marketing pushes homeowners toward the most visually striking finish: metallic swirls, custom flake blends, high-gloss clears. Those finishes are genuinely beautiful. They're also where the money goes when it could be doing more useful work.
Every time. The resin chemistry matters, but the bond to the substrate matters more. Homeowners who spend $1.50–$2.00/sq ft more on grinding and a proven resin system, then choose a simpler finish, consistently get better long-term value than those who do the reverse.
The other underrated decision is moisture testing. Skipping it saves $50–$150 upfront and risks a complete coating failure within 6–12 months if the slab has vapor issues. That's not a tradeoff worth making.
The floor will still look sharp, and it will still be there in 15 years.
Get an accurate quote before you commit to any number
Showmeepoxy provides written, line-item quotes that break out prep, materials, topcoat, and warranty terms separately, so you can see exactly what you're paying for and compare it against other bids on equal footing.

Every Showmeepoxy estimate starts with an on-site inspection and includes diamond grinding as a standard line item, not an optional add-on. Industrial-grade epoxy and polyaspartic materials, fast scheduling, and a 5-star service record across Mid-Missouri back every project. Whether you're budgeting for a single-car garage or a three-bay commercial floor, the free cost calculator gives you a realistic local estimate in minutes. When you're ready for a written quote, the contact page connects you directly with the team. Get 2–3 line-item quotes, use the calculator, and compare them against what Showmeepoxy includes before you sign anything.
Sources
The cost ranges in this article draw from national aggregator data, independent homeowner reporting, and contractor pricing models. Here's what each source contributed:
- How Much Does Epoxy Flooring Cost? 2026 Data | This Old House
- Epoxy Flooring Cost Calculator (2026) — Free Online Estimate | HomeCostCalc
- How Much Does Epoxy Flooring Cost in 2026? (Garage, Basement & Commercial) | UseCalcPro
- How Much Does Epoxy Flooring Cost? Angi overview