
Epoxy can be an excellent home gym floor, but only when the concrete gets properly prepped and you protect the spots where weights actually land. If you deadlift or drop barbells regularly, you need diamond grinding, a moisture check, and dedicated landing pads. Skip those, and you're gambling on a coating that peels.
TL;DR:
- Proper surface preparation, especially diamond grinding and moisture testing, is essential for epoxy floors to avoid peeling and ensure long-term durability.
- Heavy impacts, like repeated barbells drops, require thicker, industrial-grade epoxy systems and impact padding, as thin kits are prone to chipping.
- DIY epoxy costs between $2 and $5 per square foot, but professional installation, including prep and repairs, can significantly increase the price.
- Using epoxy in spaces with moisture issues or unaddressed cracks leads to peeling; a moisture test before application prevents these failures.
- Combining epoxy with rubber mats in drop zones and using hybrid flooring setups extends the lifespan and functionality of a home gym floor.
Table of Contents
- Is a Home Gym Epoxy Floor Right for You?
- Pros and Cons: What Epoxy Gives You and What It Costs You
- How Well Does Epoxy Hold Up Under Weights and Heavy Equipment?
- Surface Preparation and Installation: The Steps That Determine Success
- What Does an Epoxy Home Gym Floor Cost?
- Alternatives and Hybrid Setups Worth Considering
- Maintenance and Repairs: Keeping the Floor Looking New
- Show Me Epoxy: What Pro-Grade Prep and Materials Actually Change
- Author Perspective: Quick Take and Next Steps
- Get a Home Gym Epoxy Floor Done Right
- Sources
Is a Home Gym Epoxy Floor Right for You?
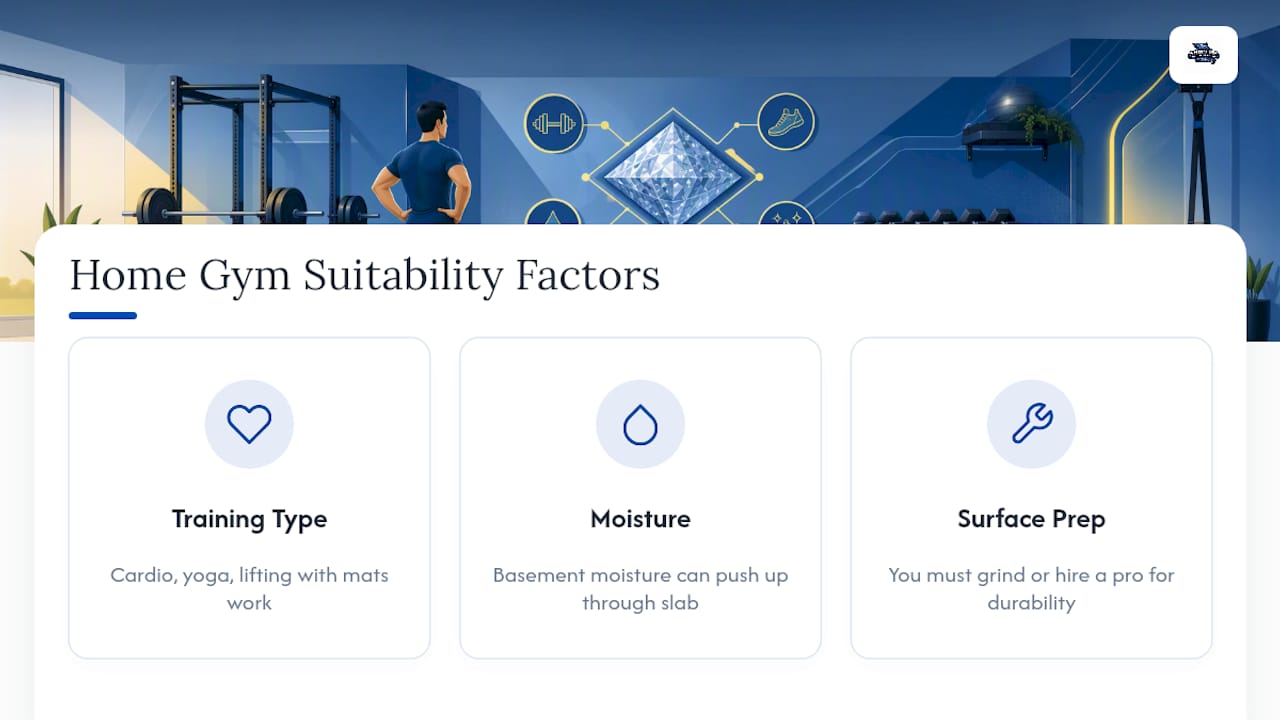
Epoxy earns its reputation as a strong home gym floor for cardio rooms, yoga spaces, and lifting areas that use mats under the rack. It struggles when installers skip surface prep or when a basement has unaddressed moisture pushing up through the slab. The right call depends on three things: what kind of training you do, whether your slab has a moisture problem, and whether you're comfortable grinding concrete yourself or hiring someone who will.
A thin water-based kit brushed over an unprepared garage floor will not survive the same abuse. That gap in outcome is really the whole story of this article.
Pros and Cons: What Epoxy Gives You and What It Costs You
Epoxy's biggest selling point is how little it asks of you day to day. It seals the concrete into one continuous surface with no grout lines or seams to trap chalk, sweat, or spilled protein shakes.
What you get:
- A seamless, non-porous surface that wipes clean with a mop and mild cleaner
- Strong resistance to sweat, chalk dust, gym cleaning sprays, and most chemicals
- A finished look, with color and flake options that make a garage feel like an actual training room
- A hard surface that stands up to foot traffic, rolling equipment, and bike trainers far better than bare concrete
The downsides are real, and they mostly trace back to shortcuts. Adhesion failures happen when moisture works its way up through a slab that was never tested, causing the coating to bubble or peel in patches. Thin, big-box DIY kits chip more easily under barbell drops than industrial-grade systems. Rooms with big south-facing windows can see some yellowing over time if the topcoat lacks UV inhibitors. And because epoxy is a hard, unforgiving surface, dropped weights sound louder and hit harder than they would on rubber.
Every one of those problems has a fix: mechanical grinding before coating, a moisture test before you commit to a system, a UV-stable topcoat if the room gets direct sun, and rubber landing pads under your rack and platform.
Pro Tip: Before you buy a single gallon of epoxy, tape a piece of plastic sheeting to the slab overnight. If you see condensation underneath in the morning, you have a moisture issue that needs addressing before any coating goes down.
How Well Does Epoxy Hold Up Under Weights and Heavy Equipment?
The material you choose matters more than almost anything else here. 100% solids epoxy systems outperform typical water-based, thin-film kits sold at hardware stores, largely because they build far more film thickness and cure into a denser, more chemical-resistant surface. A thin coating flexes and cracks under concentrated impact. A thick, properly primed system distributes that same impact across a much tougher film.
Primer matters too. A quality primer bonds the epoxy to the concrete at a molecular level, and that bond is what keeps a coating from chipping loose when a 45-pound plate slips out of your hands.
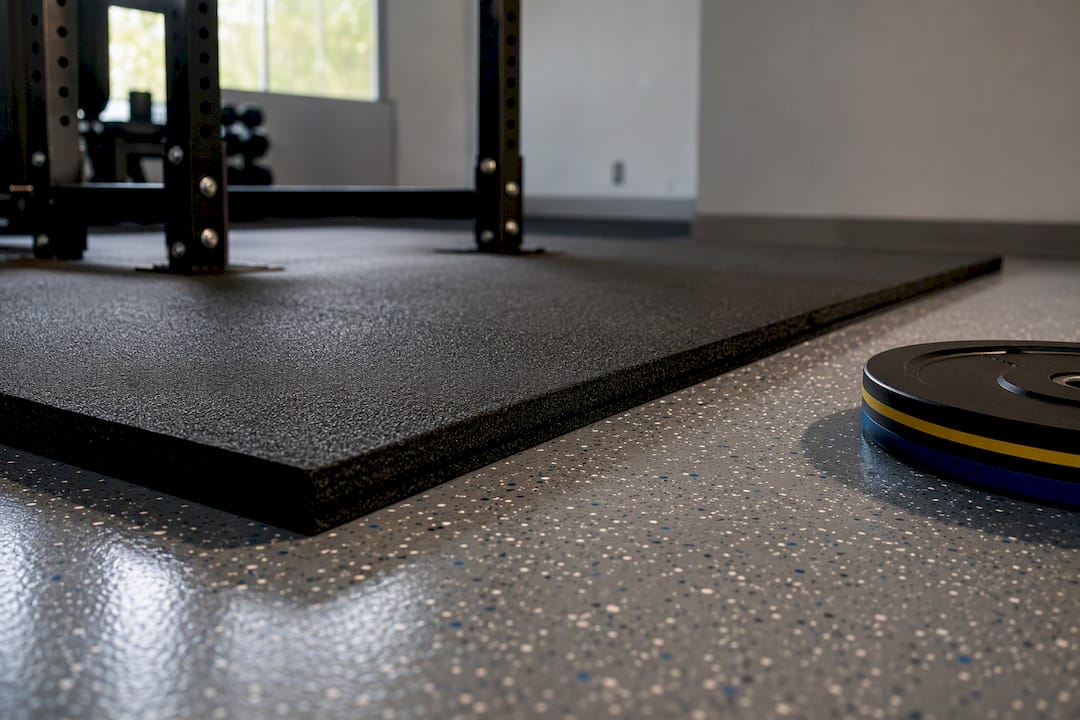
Even the best epoxy system has limits. Dropping loaded barbells repeatedly onto bare epoxy, without any padding, will eventually chip the surface at that exact spot. That's not a flaw in the coating. It's physics. The fix isn't a tougher epoxy. It's a rubber platform or stall mats under your rack and any Olympic lifting zone, with epoxy running clean and durable everywhere else in the room.
Surface Preparation and Installation: The Steps That Determine Success
Almost every epoxy failure traces back to one of two things: skipped prep or ignored moisture. Get these steps right and the rest of the job is straightforward.
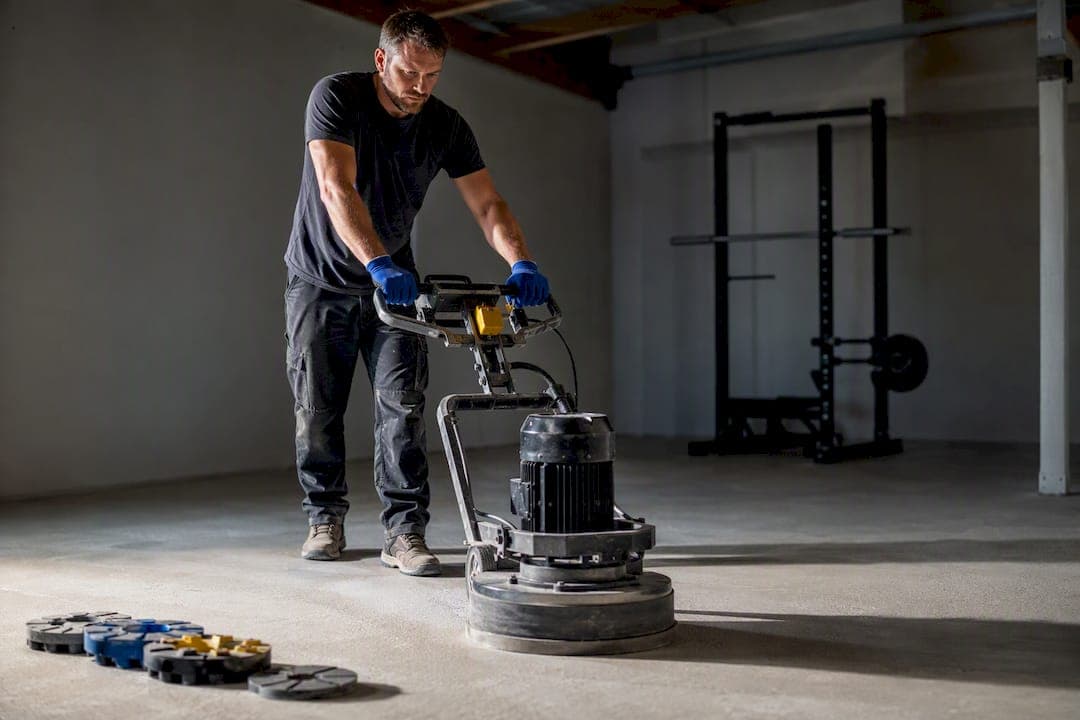
- Profile the concrete. Diamond grinding opens up the pores in the slab so epoxy has something to physically grip, instead of just sitting on top of it the way acid etching does. Etching is faster, but grinding creates a far more durable, long-term bond.
- Test for moisture. A plastic sheeting test overnight, or a calcium chloride test kit for a more precise reading, tells you whether vapor is coming up through the slab. Any sign of dampness means you need a moisture-mitigating primer or system before you coat anything.
- Repair the slab. Fill cracks, patch spalled or pitted concrete, and confirm the floor slopes properly toward a drain if your garage sees rain runoff or vehicle fluids, using techniques from PVC pipe crack repair: A DIY homeowner's guide.
- Mix and apply in stages. 100% solids epoxy has a short pot life, often 20 to 30 minutes once mixed, so working in manageable sections matters more than working fast.
- Broadcast flakes or anti-slip aggregate while the base coat is still wet, then apply a clear topcoat once it cures.
- Respect the cure schedule. Light foot traffic is usually fine within 24 hours. Rolling heavy equipment or setting up a rack back in place should wait several days, depending on the product and room temperature.
You can coat existing concrete in most cases, assuming it's structurally sound and prepped correctly first. A grinder rental, a good primer, and patience with cure times are the difference between a DIY job that lasts and one that peels in a year.
Pro Tip: Rent the grinder for a full day, not a few hours. Grinding a two-car garage properly, including edges and corners, takes longer than most first-timers expect.
What Does an Epoxy Home Gym Floor Cost?
Budget depends heavily on whether you do the work yourself or hire it out, and on how much prep your slab actually needs.
- DIY materials typically run $2 to $5 per square foot, covering epoxy, primer, flakes, and topcoat for a standard garage-turned-gym.
- Professional installation costs more per square foot, but that price usually bundles diamond grinding, moisture testing, crack repair, and warranty-backed materials you won't find at a hardware store.
- Cost drivers include how much grinding the slab needs, whether moisture mitigation is required, the extent of crack or spall repair, decorative flake density, and topcoat quality.
A 400 square foot garage gym might run $800 to $2,000 in DIY materials, or considerably more for a professional install with full prep. Timeline wise, expect one to two days for grinding and repairs, then a day for coating, then a wait of several days before heavy equipment goes back in.
Alternatives and Hybrid Setups Worth Considering
Epoxy isn't the only answer, and for some training styles, it isn't the best one on its own.
- Rubber rolls and tiles absorb impact and sound far better than any hard coating, which is why Garage Gym Reviews consistently recommends rubber flooring for heavy lifting spaces.
- Foam and PVC tiles work well for yoga, stretching, and light cardio, but they aren't built to handle repeated barbell drops the way rubber or epoxy can.
- A hybrid setup often wins: epoxy across the traffic areas, cardio zone, and walkways, with dedicated rubber stall mats or a lifting platform in the drop zone.
Lowe's buying guidance points to matching material to actual use rather than picking one flooring type for the whole room. That's the smarter framework for most home gyms, not an either-or decision between epoxy and rubber.
Maintenance and Repairs: Keeping the Floor Looking New
Epoxy is low-maintenance, not no-maintenance. A quick sweep and a mop with a pH-neutral cleaner once a week keeps chalk and sweat from building up into a dull film. Avoid harsh solvents or ammonia-based cleaners, since they can dull the topcoat over time.
Watch for a few warning signs:
- Edge lifting near walls or doorways, often the first hint of adhesion trouble.
- Bubbles or soft spots, which usually point to trapped moisture underneath the coating.
- Hairline cracks that widen, suggesting the slab itself is moving.
Small chips are manageable with an epoxy patch kit matched to your existing color. Widespread delamination, bubbling across large areas, or cracking that keeps spreading calls for a professional look, not a DIY patch. With solid prep and reasonable care, a well-installed epoxy floor can last well over a decade in a home gym setting. Show Me Epoxy's maintenance guide covers the cleaning routine in more detail if you want to protect that warranty-friendly finish long term.
Show Me Epoxy: What Pro-Grade Prep and Materials Actually Change
Diamond grinding is the step most DIY guides mention and most homeowners skip, and it's the single biggest factor separating a floor that lasts from one that peels in year two. Show Me Epoxy builds every install around that mechanical prep step, then applies industrial-grade epoxy and polyaspartic systems with UV-stable topcoats rather than the thin kits sold off a shelf.
A floor is only as good as what's underneath it. Grinding the concrete first is what lets the coating bond permanently instead of just sitting on the surface, waiting to fail.
Hiring a contractor makes the most sense when your slab needs real moisture mitigation, extensive crack or spall repair, or when you want the durability expected of a commercial-grade floor rather than a weekend project.
Author Perspective: Quick Take and Next Steps
Epoxy earns its place in a home gym when the prep gets done right and heavy-impact zones get padded. That's the whole argument, and most of the disappointment stories online trace back to skipping the grinding step or ignoring a moisture problem that was visible from the start.
My advice: run a moisture test on your slab this week before you buy anything. If it comes back clean, you're deciding between DIY and a quote. If it shows dampness, get a professional assessment before you spend a dollar on coating.
— Stephen
Get a Home Gym Epoxy Floor Done Right
Grinding a concrete floor yourself with a rented machine is doable, but getting the profile even across a whole garage, catching a hidden moisture issue, and matching primer to your specific slab conditions is where most DIY jobs go sideways. A professional installer handles all three, using diamond-grinding prep and industrial-grade coatings rather than generic hardware store kits.

A consultation can include an assessment of your slab, moisture concerns, and a clear quote based on square footage and the prep your floor needs, without pressure or upselling. If your basement gym has moisture concerns, Show Me Epoxy's basement-specific service addresses that directly rather than papering over it.
If you're ready to see what a properly prepped floor would cost for your space, request an estimate from Show Me Epoxy and get a real number instead of a rough guess.
Sources
- Expert-Tested: The Best Home Gym Flooring Options (2026) | Garage Gym Reviews
- DIY Epoxy Home Gym Floor: A Pro-Level Installation Guide
- How to Choose Home Gym Flooring & Garage Flooring | Lowe's
- Best home gym flooring over hardwood — Greatmats